What Espresso Crema Really Is
Find out what espresso crema really is and how to make it. Get expert advice on creating the perfect crema for your espresso.
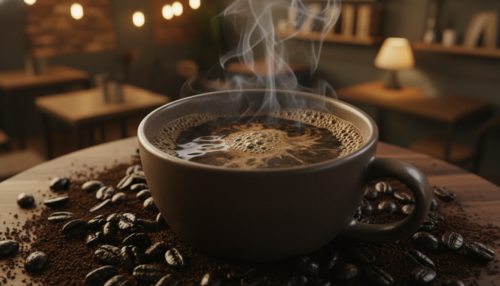
Espresso crema is the golden-brown foam that sits on a freshly pulled shot. It forms from emulsified coffee oils and CO₂ released during extraction. Many people spot this layer and assume it signals great taste, but that assumption can mislead.
Crema is real and measurable, yet it is not the sole mark of drinking pleasure. A thick surface can look attractive and still hide under-extracted or bitter flavors. Conversely, a thin layer does not guarantee a poor cup.
This matters for home brewers and café customers across the United States who often judge a shot visually before tasting. Later sections show practical levers — freshness, grind, water temperature, pressure, brew ratio, and puck prep — so you can aim for better foam without losing balance.
Bottom line: treat the foam as a useful signal, not the final verdict. Taste, aroma, and extraction balance matter most when judging coffee quality.
Key Takeaways
- Crema is a foam layer from coffee oils and CO₂, not an absolute quality seal.
- Visual cues help, but taste and aroma give the final answer.
- Adjust freshness, grind, temperature, pressure, ratio, and puck prep to improve results.
- A thick layer can still indicate bitterness; balance matters more than appearance.
- Home brewers and café customers should use crema as one of several signals.
What Espresso Crema Is Made Of and What You’re Seeing in the Cup
A thin, foamy crown of tiny bubbles is the first thing you notice when a shot finishes. That topmost foam rests on the surface of the cup and is what people call crema espresso.
What you’re seeing is a short-lived foam layer made from CO2 released by the beans and emulsified coffee oils. Dissolved sugars and other compounds join the mix, so the foam carries aroma and hints of body before you sip.
What Would You Like to Learn Next?
Choose an option below:
Texture tells a story. A velvety foam looks uniform because the bubbles are very small and tightly packed. A coarse foam shows larger bubbles and a weaker structure, which can signal uneven extraction or stale beans.
Think in layers: the foam sits on top, the liquid body follows beneath, and a darker concentration can settle at the bottom. As the shot cools or drains, those layers shift and the surface changes.
Quick takeaway: the foam layer is part visual cue and part flavor carrier — its look depends on gas availability, extraction conditions, and how the shot is handled in the cup.
The Science of Crema Formation During Espresso Extraction
When hot water meets ground coffee under force, a rapid chemical and physical change makes a foam cap.
Carbon dioxide from roasted beans
Roasting generates carbon dioxide inside beans. Fresh beans retain more gas until storage lets it escape. That trapped carbon dioxide is a key raw material for foam during extraction.
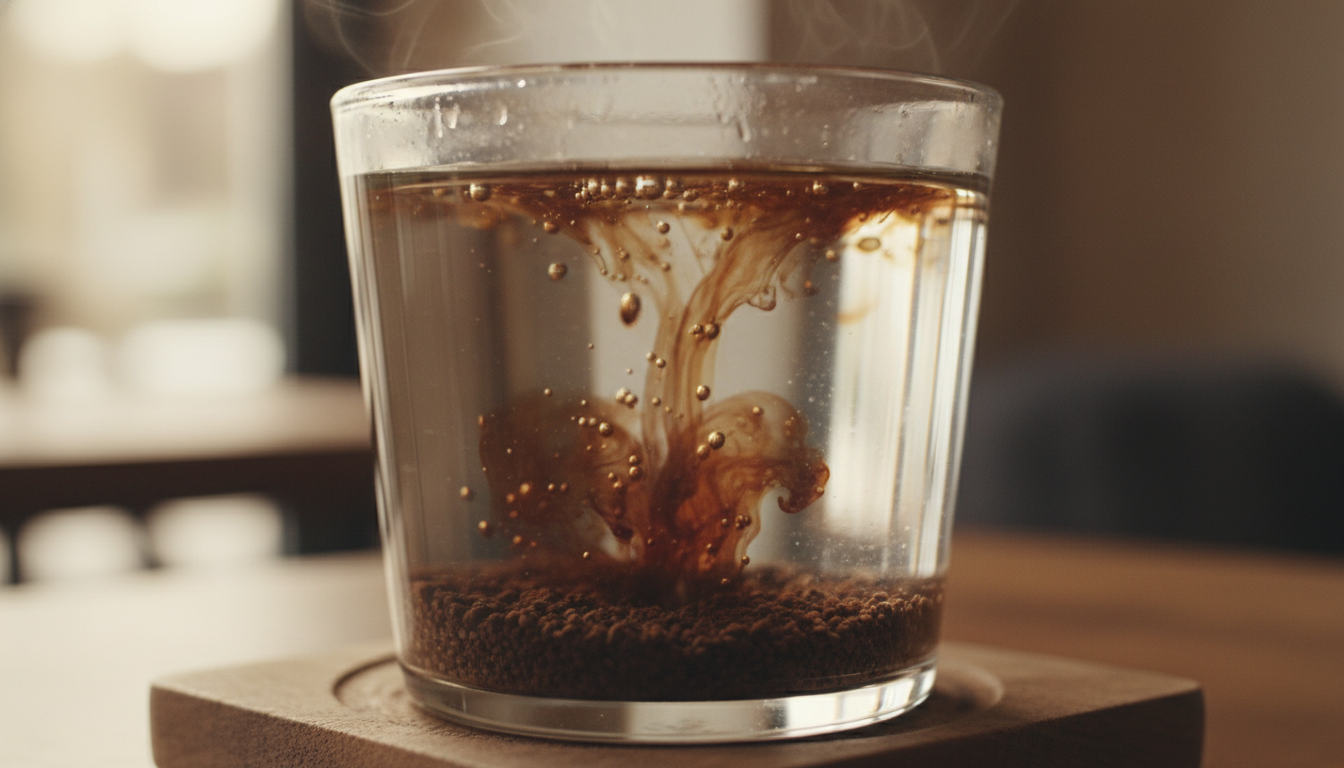
Heat, pressure, and solubility
Using hot water and about 9 bars of pressure changes how gases dissolve. Under pressure, liquid becomes supersaturated with gas. When the liquid leaves the basket and pressure falls, tiny bubbles form as the gas expands.
Emulsification and bubble formation
Oils, sugars, and gas get sheared and mixed into a stable-looking foam by the machine’s flow. Surfactant-like compounds (melanoidins) help hold bubble walls together while bubbles rise into the cup.
Why crema is fleeting
Once in the open cup, drainage pulls liquid from between bubbles. Oil layers weaken walls and the foam collapses over minutes. In practice, thin, fast shots lose foam faster than slower, more viscous pours.
| Stage | What Happens | Impact on Foam |
|---|---|---|
| Roast & Degassing | Beans release carbon dioxide | More gas available for foam |
| Pressurized Extraction | Hot water + ~9 bars increases solubility | Liquid holds more gas until pressure drops |
| Pressure Drop | Gas expands and bubbles form | Rapid bubbles rise and create foam cap |
| Post-Pour | Drainage and oils weaken walls | Foam breaks down within minutes |
Why Crema Matters and When It Doesn’t
The small layer on top of a pull often traps aromas and sets expectations for what you will taste.
How it helps: that lid-like layer keeps volatile scent compounds close to the cup. People often inhale the surface first, so aroma shapes the first impression of quality.
Mouthfeel and texture: a velvety top can add perceived body and improve mouthfeel. But the effect varies. Some shots gain a pleasant syrupy feel. Others get a flat or oily mouthfe
Many assume abundant foam equals great coffee, yet thickness can reflect roast or bean freshness rather than balanced extraction. A lot of foam does not guarantee good taste.
Foam can also carry bitter notes. Certain oils and concentrated compounds collect on the surface and taste harsh. Skimming removes that layer; stirring blends the film into the cup and softens intensity.
Try this tasting prompt to test the impact:
- Take one small sip through the surface, noting aroma, texture, and taste.
- Stir gently and sip again, comparing body and balance.
Bottom line: treat the foam as one part of evaluation. True quality comes from balanced flavor, pleasant texture, and a shot that tastes harmonious—not from foam alone.

| Aspect | What to Expect | When It Can Mislead |
|---|---|---|
| aroma | Trapped scents create a strong first impression | Can mask off-notes if foam is bitter |
| texture | Small bubbles add smooth mouthfeel | Oily or coarse foam can feel heavy |
| taste | Adds perceived body to a balanced shot | Concentrates bitter compounds on top |
Dialing In Beans, Roast, and Freshness for Better Crema
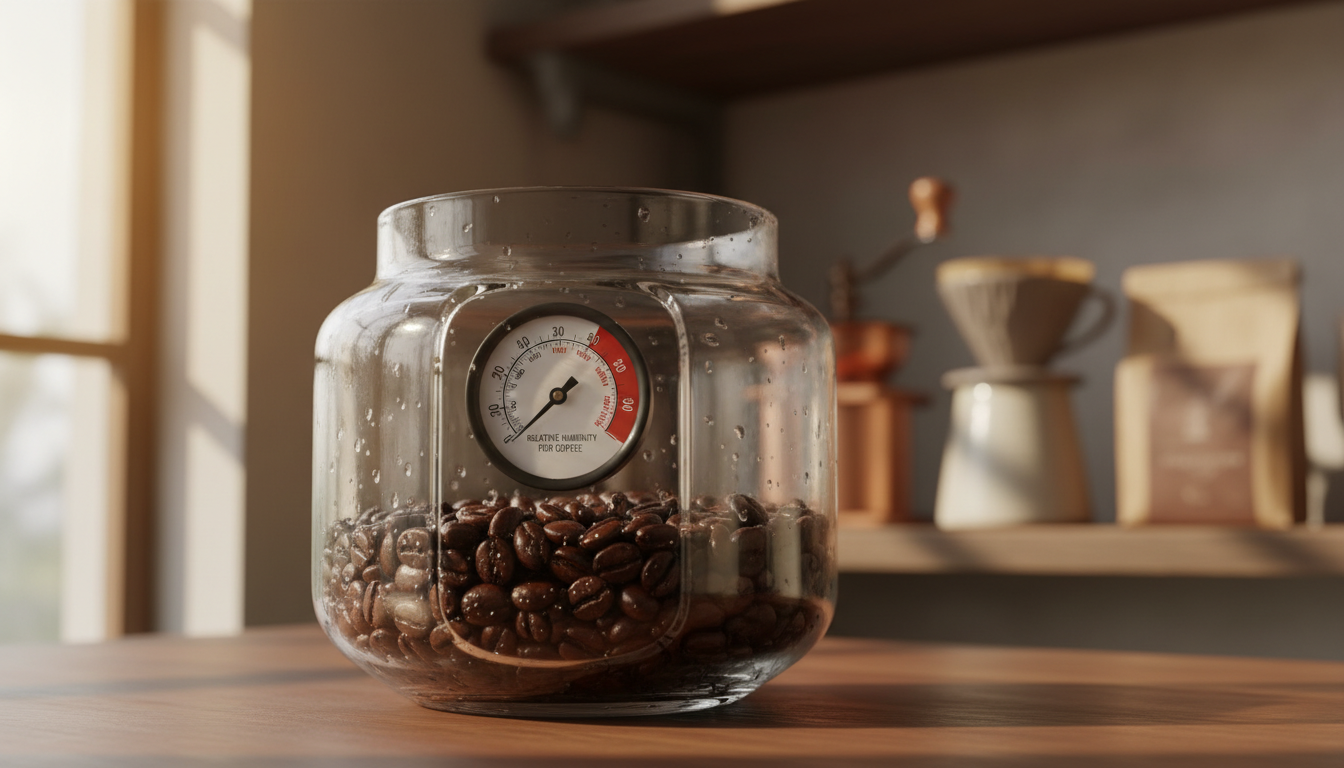
How recently a roast left the roaster often determines whether the shot crowns with a lively top or a weak film. Degassing is a moving target: too fresh and gas release makes a frothy, unstable surface; too old and lost co2 yields a thin layer.
Freshness window and degassing
Many espresso-focused roasters find an optimal freshness window roughly 2–4 weeks after roasting. In that time, coffee beans often hold enough gas to produce good foam while stabilizing flavor.
Roast level and crema volume
Darker roasting usually shows more foam volume because the roast changes solubles and surface behavior. Lighter roasts may look thinner yet still deliver excellent taste.
Whole bean vs. pre-ground and CO2 loss
Grinding speeds co2 escape. Use whole bean storage to retain gas. Pre-ground coffees lose CO2 quickly and can reduce foam within days.
Bean varieties and specialty effects
Robusta often boosts foam stability but brings different flavor and lower oils. Arabica lots can be delicate. Origin, process, and farm practices in specialty coffee sometimes produce unusual texture—dry-processed or aged lots can behave oddly without being defective.
“It helps to treat foam as a clue, not a guarantee of balance.”
Getting the Brew Variables Right: Grind, Dose, Water, and Machine Pressure
Getting brew variables right turns guesswork into repeatable results at the portafilter. Small, consistent changes to grind, dose, temperature, and pressure give predictable extraction and better crema appearance.
Grind size consistency and why burr grinders matter
Consistent grind reduces channeling and makes flow steady. Uneven particles speed some paths and starve others, producing uneven extraction and unstable crema.
Burr grinders deliver repeatable particle distribution. They beat blade grinders for espresso because they allow precise, small adjustments that affect time and extraction control.
Water temperature and extraction energy
Target about 190–196°F for reliable extraction energy. Cooler water tends to under-extract and can yield pale foam and sour notes. Hotter water increases extraction but can pull bitter compounds.
Pressure expectations and machine performance
Aim for near 9 bars of pressure on a quality machine for classic results. Some crema still forms at lower pressure, but 9 bars helps emulsify oils and support stable foam while keeping extraction balanced.
Coffee-to-water ratio and linked tradeoffs
Use a 1:2 coffee-to-water ratio as a baseline. Adjusting the dose or grind changes flow, which alters time and extraction. Tighter grind slows flow and increases extraction; coarser grind speeds it up.
- Rule of thumb: change one variable at a time—grind, then dose, then temperature, then pressure.
- Watch how flow and time shift; these predict flavor and surface behavior.
How to Make Espresso with Great Crema at Home
A simple, repeatable process gives home brewers reliable surface and flavor results. Focus on consistent steps: weighing, grinding fresh, even distribution, and steady tamping. These habits reduce surprises from the machine and make adjustments meaningful.
Prep the puck
Weigh your dose and grind just before pulling the shot. Distribute grounds evenly in the basket to avoid channeling. Use a level tamp with consistent pressure so the puck is flat and uniform.
Channeling creates fast blonding, a thin body, and weak crema even with fresh coffee. Good distribution and tamping help flow stay even and yield a balanced extraction.
Pull the shot
Lock the portafilter and start the extraction. Aim for about 25–30 seconds as a practical time window. That target is a starting point—adjust grind or dose if taste or flow is off.
Watch the stream from the spout: a steady ribbon that shifts from dark to lighter tones indicates healthy extraction. If it blasts or veers, tweak grind or dose before changing temperature or pressure.
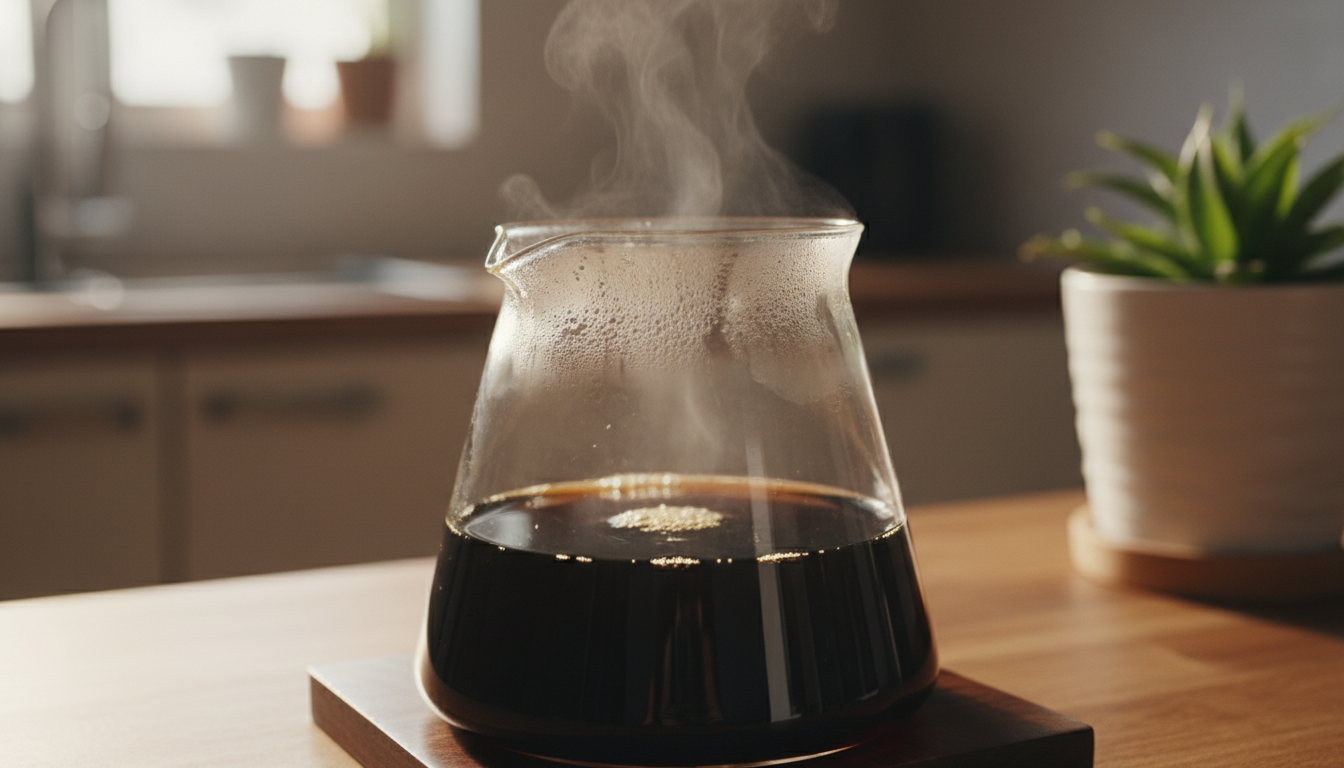
Watch the pour and settle
As the shot finishes, note how the crema forms and then settles into layers. A good pour will thicken the surface and then separate into clearer phases once the flow stops.
Log one variable at a time—grind, dose, yield, or time—so improvements in surface don’t harm cup flavor. Small, recorded changes make you a better home barista.
https://www.youtube.com/watch?v=wN20cYxgUHQ
How to Tell If Your Crema Is “Good” (Visual and Texture Checks)
Start your evaluation at the cup’s surface: simple visual checks reveal if a shot is balanced or needs adjustment.
Color clues
Golden-brown tones usually signal a balanced extraction. Pale layers can mean a fast shot, low temperature, or under-extraction. Very dark rings often point to over-extraction—always confirm with taste.
Thickness and coverage
Look for about 3–5mm of even layer with full surface coverage. Patchy or missing areas suggest channeling or an uneven grind.
Bubble size and texture
Large bubbles and gaps show instability. Small, dense bubbles create a velvety texture that feels smooth on the palate. Check bubble size and count how many visible bubbles you see.
Persistence and tiger flecking
Good crema holds for roughly 2–3 minutes. Fast collapse hints at drainage or stale beans. Tiny dark specks (tiger flecking) can indicate fine distribution and lively extraction, but it is not a universal rule.
| Cue | What to look for | What it may indicate |
|---|---|---|
| Color | Golden-brown | Balanced extraction |
| Thickness | 3–5mm, full coverage | Good body and consistency |
| Bubbles | Small, dense | Velvety texture |
| Persistence | 2–3 minutes | Fresh coffee and steady extraction |
Fixing Common Crema Problems Without Ruining the Shot
Before changing your recipe, run a quick checklist to find why the top layer looks weak or tastes off.
Thin or missing crema often links to freshness, grind, dose, or machine settings. Confirm bean freshness first. Then grind a touch finer in 0.1–0.2 mm steps and test.
Diagnose and adjust
- Check freshness and whole-bean storage.
- Raise dose slightly if flow is too fast; lower if puck chokes.
- Verify water temperature and pressure stability on the machine.
Tame a harsh or bitter top
If the surface tastes bitter, the likely causes are long extraction time or too-hot water. Shorten the shot by a few seconds, or lower temperature a few degrees.
Coarsen the grind slightly to reduce over-extraction rather than adding dose. Always confirm fixes by taste, not appearance alone.
When crema disappears fast
Fast collapse often means a thin body from quick flow or channeling. Improve distribution, use a level tamp, and avoid over-fining the grind.
Keep notes: change one variable at a time and record shot time, water, and pressure. This builds consistency and better quality coffee.
“Test by taste: a thicker cap is a clue, not a guarantee of balance.”
Conclusion
What you see on the cup is helpful, but tasting decides the result. The foam layer forms from CO₂, pressure, and emulsification, so it offers quick clues about freshness and extraction but cannot guarantee a great drink.
Focus on controllables: fresh beans, a consistent grind, stable water temperature, correct pressure, and a balanced brewing recipe give the best repeatable results.
Use the surface as an observation tool, then confirm with aroma, sweetness, acidity, bitterness, and finish. Taste first, adjust next.
Chasing maximum persistence can push shots into over-extraction and harsh flavors. Keep notes like a barista, change one variable at a time, and remember that sourcing—from farm practices through roast and storage—shapes how coffees behave before brewing even begins.
FAQ
What is the thin foam layer on top of a shot and why does it form?
What exactly am I seeing in the cup — bubbles, oil, or something else?
How does carbon dioxide from beans affect the foam?
Why do pressure and hot water change the way this foam develops?
How do oils, sugars, and gases emulsify into a stable-looking foam?
Why do bubbles appear when the shot leaves the basket and pours into the cup?
Why does the foam disappear after a short time?
Does the foam change aroma, mouthfeel, or perceived body?
Is a thick foam always a sign of high-quality coffee?
When can the foam taste bitter and why?
How does time off roast affect foam performance?
Do darker roasts produce more foam than lighter ones?
Does whole bean vs. pre-ground affect the foam?
How do different species like Arabica and Robusta change foam stability?
Can origin, processing, or specialty-grade beans affect foam texture?
How important is grind consistency for a good surface and shot overall?
What water temperature should I aim for and why?
How does machine pressure influence foam and extraction?
What coffee-to-water ratio supports a balanced drink and good surface?
How should I prep the puck to promote even extraction and a consistent surface?
What extraction time should I aim for when pulling a shot?
What should I watch for during the pour and as the surface settles?
How can I visually assess whether the surface is “good”?
What do pale versus very dark surfaces indicate?
How does bubble size and texture inform troubleshooting?
What is persistence and what affects how long the foam lasts?
What does tiger flecking mean and should I try to achieve it?
What should I do if the foam is thin or missing entirely?
How do I fix foam that tastes harsh or bitter?
Why does the surface disappear quickly on some shots and how can I stop it?
Why Cheap Coffee Often Tastes Burnt
» Discover special tips and stories about coffee