Coffee Solubility Explained Without Chemistry
Understand coffee solubility and its impact on your daily cup. Get tips on how to adjust coffee solubility for a perfect brew every time.
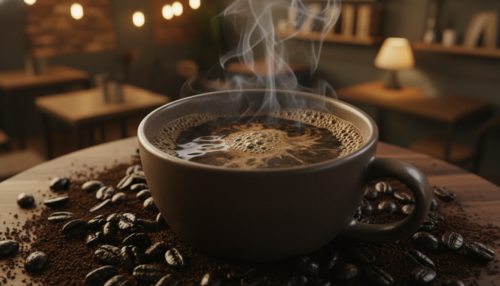
What dissolves into your cup matters more than lab numbers. Roasted beans are only about 28–32% soluble; the rest stays behind as grounds. That means most of what you drink is water carrying a mix of dissolved compounds that shape taste and aroma.
Think of solubility in plain terms: it’s the way certain parts of the grind move into the water. That movement is what we call extraction. Home brewers mostly control two levers: strength (how concentrated the beverage is) and extraction (how much of the soluble material leaves the grounds).
You don’t need a lab to make better drinks. Better isn’t always more. Aim for balance, not maximum extraction. Small changes to grind, time, temperature, or flow can shift the cup from bright and sour to dull and bitter.
Key Takeaways
- Most of your cup is water plus dissolved compounds that create flavor.
- Control strength and extraction to shape taste, not just increase numbers.
- Better taste is balance—over-extraction can make drinks bitter.
- Adjust grind, time, temperature, or flow to fix sour or bitter outcomes.
- You can troubleshoot and improve results without lab tools.
What Coffee Solubility Means in Plain English
Solubility simply answers: which parts of a bean end up in your mug and which stay behind. This is about what can dissolve into water and what remains as grounds. Think of your brew as water carrying a mix of dissolved stuff that makes taste, aroma, and body.
Soluble vs. insoluble — the real difference
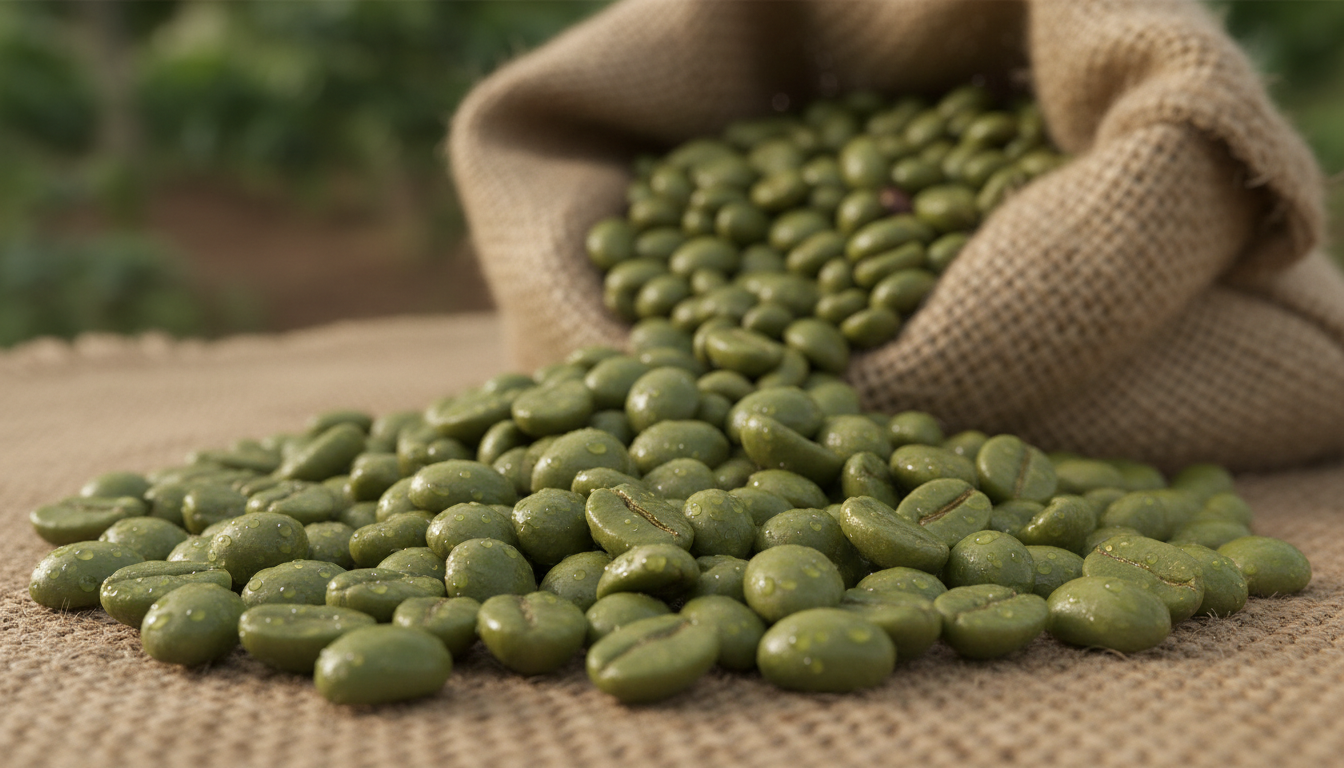
Soluble means a compound can dissolve into water and join the beverage. Insoluble means it stays with the spent grounds—things like protein, fiber, cellulose, and fat.
The simple math
Only about 28–32% of roasted beans will dissolve at most. The other 68–72% never becomes part of the cup. That explains why even perfect brewing leaves used grounds full of structure.
What Would You Like to Learn Next?
Choose an option below:
Why your cup is mostly water plus dissolved compounds
Your mug is essentially a water-based solution of dissolved compounds. That is why the quality of water and its temperature change taste so much.
- “Extraction” = the percentage of mass you dissolved into the beverage.
- Stronger drinks mean more dissolved content per cup, not always better balance.
- Different compounds dissolve at different rates, so taste shifts during brewing.
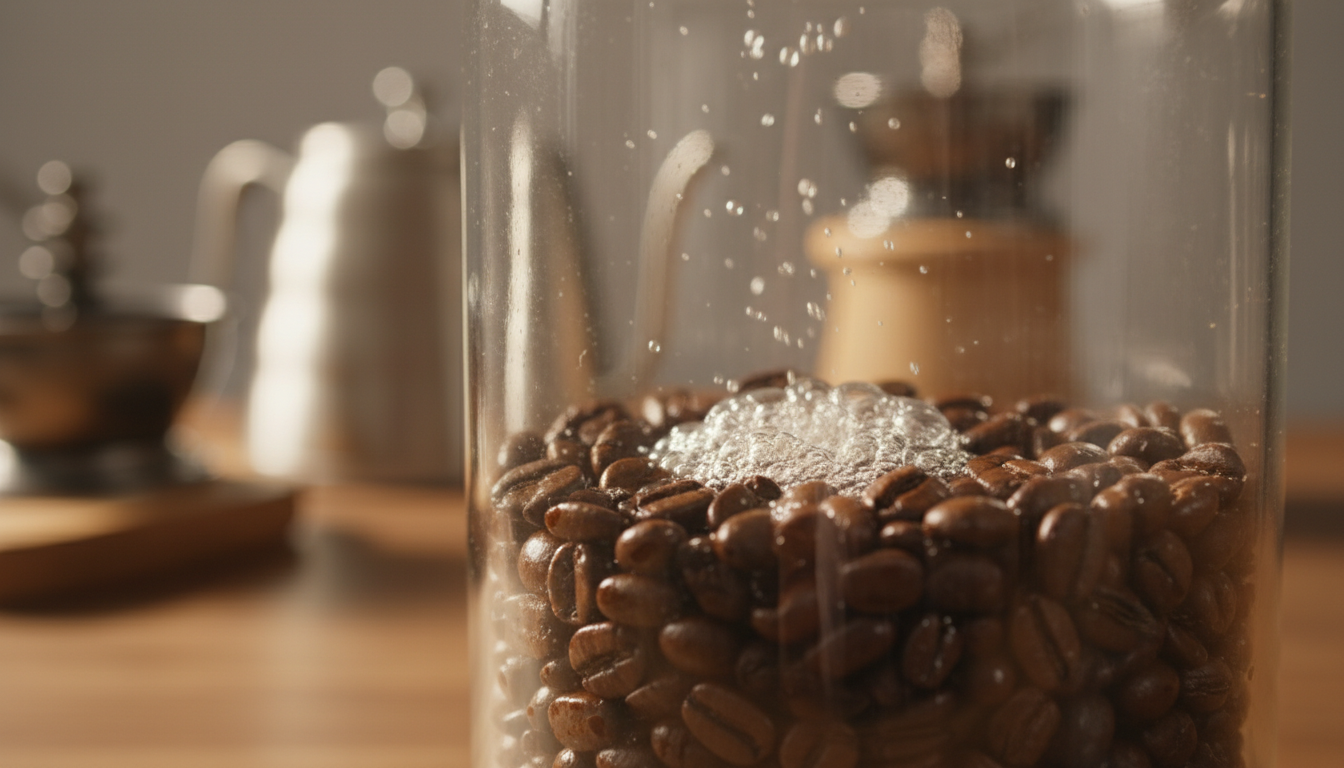
What Actually Dissolves Into Your Cup (and What Doesn’t)
When hot water meets ground roast, a crowd of different molecules race into the cup.

Soluble drivers of taste include bitters, acids, sugars (and sweet-tasting breakdown products), plus caffeine. These compounds arrive at different times during extraction and shape brightness, body, and perceived sweetness.
Key soluble players
- Acids: citric, malic, phosphoric, lactic, acetic — offering citrus, apple-like juiciness, sparkle, creaminess, or vinegar when excessive.
- Chlorogenic acid breakdown: quinides in medium roasts and phenylindanes in darker roasts add roast-driven bitterness.
- Sugars and melanoidins: less sucrose survives roasting; browning products add perceived sweetness and color.
What stays behind and why it matters
Insoluble material — protein, fiber, cellulose, and fat — remains or suspends in the cup. Oils and tiny cell fragments form colloids that boost body and mouthfeel, especially in espresso.
| Component | Role in cup | Common source |
|---|---|---|
| Acids | Brightness and bite | Bean origin and roast |
| Sugars / Melanoidins | Sweetness and color | Roast reactions |
| Oils / Cell fragments | Body, aroma, coating | Bean lipids; espresso suspension |
| Protein & Fiber | Left in grounds; less clean flavor | Insoluble material |
Particles and the path of least resistance
Uneven grind and poor bed prep create fines and boulders. Water follows the path of least resistance and channels, causing mixed extraction where some grounds over-extract while others under-extract.
Consistency in grind, distribution, and flow control reduces channeling and ensures the right compounds make it into each cup.
Coffee Extraction Basics: The Order Flavor Shows Up While Brewing
The brew develops like a short story: a sharp opening, a sweet middle, and a bitter ending if pushed too far.
Why under-extracted brews taste sharp or grassy
Early in the process, acids and lighter molecules dissolve first. That makes a cup taste sour, salty, or grassy when extraction stops too soon.
This is not the same as pleasant acidity. Without sweetness to balance acids, the finish feels short and thin.
What balanced extraction tastes like and why 18–22% matters
Mid-stage extraction brings sugars and melanoidins that round out the cup. Baristas often aim for an 18–22% percentage because it blends acidity, sweetness, and body.
Think of it like lemonade: lemon juice alone is sharp, and salt makes it worse. Add sugar and water and the drink becomes balanced. A proper extraction tastes integrated and long on the finish.
How over-extraction turns bitter or ashy
Push past the sweet middle and polyphenols and heavy roast byproducts come through. The result is bitter, dry, hollow, or ashy notes.
More time or hotter water can force that change. Remember: extra extraction power does not always improve tasting results.
How to Adjust Coffee Solubility at Home Without a Lab
Small, consistent tweaks to ratio, grind, and time unlock big improvements in everyday brewing.
Start with brew ratio. Choose a ratio that gives the strength you like. Strength is the perceived intensity and links to dissolved solids (TDS). Filter drinks commonly sit around 1.1–1.8% TDS while espresso ranges near 7–12% TDS. Set ratio first so concentration doesn’t mask extraction issues.
Use grind size as your fastest control
Grind setting changes surface area and flow. Finer grind usually increases extraction by slowing water and exposing more surface. Coarser grind reduces extraction by speeding flow. If a cup tastes sour, try a finer setting. If it’s bitter, try coarser.
Dial in brew time after matching grind and method
Time follows grind and brew style. Adjust grind before forcing odd pouring or plunging habits. Match total contact time to your method: pour-over, immersion, or espresso each need different targets.
Control water temperature
Hotter water extracts more and faster; cooler water extracts less. Keep temperature steady while you troubleshoot so you isolate the variable you changed.
Improve evenness to reduce channeling
Better distribution, a level bed, and consistent pouring cut channeling. Avoid disturbing the filter mid-brew. For espresso, focus on puck distribution and even tamping to reduce low-resistance paths.
| Adjustment | Effect on extraction | Quick test | When to use |
|---|---|---|---|
| Brew ratio | Changes strength (TDS) | Weigh grounds and water | When drink feels too weak or too intense |
| Grind size | Slows or speeds flow; alters surface area | Change one click and taste | If cup is sour or bitter |
| Brew time | Affects which compounds extract | Adjust total contact seconds/minutes | When flavors seem out of balance |
| Water temp & bed prep | Extraction power & evenness | Hold temp steady; level the bed | When results vary between brews |
Practical workflow:
- Pick a ratio that matches your taste for strength.
- Taste, then adjust grind finer or coarser to fix sour or bitter notes.
- Tweak time only after settling grind and method.
- Keep temperature and preparation repeatable to learn what each change does.
Method-Specific Tips for Filter Coffee, Pour Over, and French Press
Flow, contact time, and clarity for filter and pour-over
Controlled flow rewards steady pouring. A smooth, even pour gives consistent saturation and a stable contact time. That brings clearer origin notes and cleaner flavor.
Grind and filter interact: a finer grind slows drawdown and risks over-extracting. A too-coarse grind runs fast and tastes sharp.
If drawdown is too quick and the cup tastes thin, tighten grind a notch. If the bed stalls and the brew tastes dry or bitter, open the grind slightly.
“Clarity comes from fewer oils and suspended grounds passing the filter, which highlights origin flavors.”
Immersion brews: body, oils, and avoiding bitterness
French press and other immersion methods keep more oils and fines in the cup. That gives fuller body and stronger perceived strength.
To balance the brew, use a consistent amount of ground coffee and water, pick an appropriate coarse size, avoid aggressive agitation late in the steep, and control total time to limit drying bitterness.
| Method | Key control | Practical tip |
|---|---|---|
| Pour-over / Filter | Flow rate & contact time | Steady pour, adjust grind one click to fix drawdown |
| Paper vs. metal filter | Clarity vs. body | Paper = clearer; metal = more oils and fuller mouthfeel |
| French press / Immersion | Steep time & agitation | Coarse grind, gentle stir early, no late agitation, 3–4 min typical |
Keep the amount of ground coffee and water consistent from brew to brew. That way, when flavor shifts, you can trace it to grind, time, or technique—not random variation.
Espresso Solubility and Extraction: Quick Wins That Change Everything
Espresso magnifies every change you make: tiny tweaks have big impacts on the final shot.
Pre-infusion and puck saturation
Pre-infusion gently wets the puck to reduce channeling. A short, low-pressure soak lets grounds swell and equalize before full pressure arrives.
Use about 2–3 bar for 5–8 seconds as a reference. That often stabilizes early flow and cuts sour or bitter spikes caused by uneven paths.
Pressure and flow basics
Historically, machines target ~9 bar to standardize extraction. That pressure works well for many grinders and blends.
Lower pressure (around 6–7 bar) can help when particle distribution favors slower flow. Machines like some setups paired with EK43-style grinding show improved balance at reduced pressure.
Taste-driven dialing: grind and shot outcomes
If a shot tastes sharp and finishes fast, go finer one notch and test again. If it tastes bitter, dry, or hollow, try coarser while keeping dose and yield steady.
Remember oils and suspended insolubles add body. They coat the tongue and can soften perceived bitterness even when extraction edges high.
| Control | What to change | Practical cue |
|---|---|---|
| Pre-infusion | 2–3 bar, 5–8 s | Smoother start, fewer channel spikes |
| Brew pressure | 9 bar standard; 6–7 bar for some profiles | Try lower if taste is harsh at 9 bar |
| Grind setting | Finer or coarser steps | Sour = finer; bitter = coarser |
- Keep preparation consistent: dose, tamp, and temperature steady.
- Change one variable at a time and taste the result.
- Judge by flavor, not only by numbers—repeatable routines win.
Conclusion
Mastering what ends up in your drink is the simplest route to better flavor at home. Your mug is mostly water carrying dissolved parts from the grind, so focus on balance rather than chasing higher numbers.
Solubility sets the limit of what can leave the grounds; extraction controls how much of those things become extracted coffee, and strength decides how intense the cup feels.
Roast level changes available sugars and bitter compounds, so light and dark beans often need small tweaks to grind, time, or temperature to show their best traits.
Quick troubleshoot: sour and thin usually means under-extraction; bitter and dry points to over-extraction, assuming your ratio sits in a reasonable range.
Be consistent: keep dose, water, and routine steady. Change one variable at a time and taste—this is the fastest way to improve brewed coffee quality.
FAQ
What does "soluble vs. insoluble" mean in brewed coffee?
How much of a roasted bean typically dissolves into the cup?
Why is my brew mostly water plus dissolved compounds?
Which compounds dissolve first and shape early flavor?
What stays in the puck or filter and affects mouthfeel?
How do uneven particles and channeling change extraction?
Why does under-extracted brew taste sour or grassy?
What does a balanced extraction taste like and why aim for 18–22%?
How does over-extraction affect flavor?
What should I adjust first at home: ratio, grind, or time?
How does grind size influence extraction?
What role does water temperature play?
How can I improve extraction evenness at home?
Any method-specific tips for pour-over and drip brews?
How do immersion methods like French press affect dissolved and insoluble content?
What are quick wins to improve espresso extraction?
Does pressure always need to be 9 bar for better shots?
How can I tell if my shot is under- or over-extracted by taste?
Are oils and fines good or bad in the cup?
How do roast level and bean quality affect extraction?
Why Cheap Coffee Often Tastes Burnt
» Discover special tips and stories about coffee