Why Uneven Grind Distribution Ruins Coffee
Understand how coffee grind distribution impacts your coffee's flavor. Tips for achieving even distribution for a perfect brew
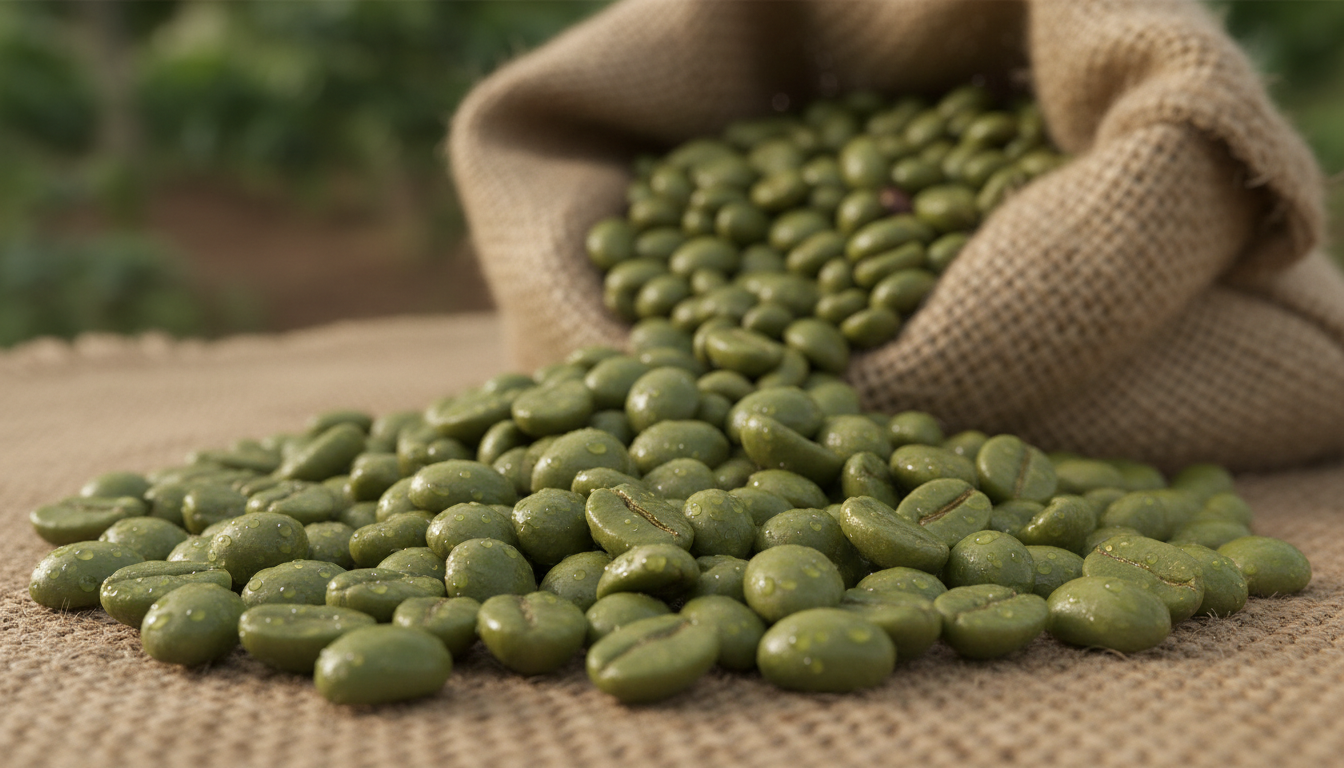
Uneven particle mix is the silent flaw that wrecks a cup even when dose, temperature, and timing seem correct.
Research from Kaffeemacher and ZHAW used a Retsch Camsize X2 to show real differences among 24 espresso grinders. They mapped particle size for ristretto, espresso, and allongé recipes and showed that a single labeled size hides wide variation.
At home, an uneven mix of fines and boulders makes extraction swing. Too many fines pull bitter notes and dry texture. Too many large particles leave the cup thin and sour.
This intro sets expectations: you will learn what true particle mix means, how it changes flow and extraction, how to spot symptoms in shots and drip brews, and simple fixes that do not need lab gear.
Think of better as repeatable brewing with clearer flavor, steadier flow, and fewer surprise cups. The guide stays method-agnostic with examples for espresso, pour over, and immersion.
Key Takeaways
- Uneven particle mix, not a single size, drives taste and texture.
- Too many fines cause bitterness; too many large bits cause sourness.
- Symptoms include stalled drip, channeling, and variable shot times.
- Measured PSDs from Kaffeemacher/ZHAW back what brewers observe.
- Goal: repeatable results, stable flow, and clearer cups without perfection.
What grind distribution means in real-world brewing
Think of a particle map as a fingerprint for your grounds: it shows every size and how much of each is present. That map is the particle size distribution, and it matters more than a single number labeled as the grind size. A median or average hides the mix of fines, the nominal peak, and the oversized tail.
What Would You Like to Learn Next?
Choose an option below:
Definition and why an average isn’t enough
The plain definition: a particle size distribution is a count of how much material sits at each diameter. Two samples can share the same median yet behave very differently if one has more tiny fines and the other more large bits.
How PSDs are shown and read
Good PSD graphs plot volume contribution versus diameter on a log axis. That view highlights the coarse, or nominal, peak that drives under-extraction zones. By contrast, a number-based plot inflates the apparent share of fines and can mislead interpretation.
Putting PSD into practice
Example: two ground samples with equal median sizes but different fines area will change resistance and contact time. Interpreting PSD translates those curves into expected flow, clarity, and mouthfeel.
Brewing consequence: uneven particles cause uneven extraction, producing mixed over- and under-extracted flavors.
How uneven particles change flavor, body, and extraction
Mixed particle sizes turn a simple extraction into a negotiation between fast and slow elements. Some particles surrender compounds early while others barely yield anything. The result is a cup with clashing notes and uneven texture.
Over-extraction from fine particles and harsh, drying flavors
Fine particles expose lots of surface area to water. That quick access speeds extraction and often produces bitter, astringent, or drying sensations. In percolation methods, fines can raise puck resistance and slow flow, stretching contact time and increasing harsh notes.
Under-extraction from boulders and thin, sour cups
Large pieces act like anchors that resist extraction. Water moves around them and into them slowly, leaving sharp, sour, or thin sweetness behind. Even when brew time looks normal, these oversized bits dilute clarity.
Why mixed size ranges can boost mouthfeel but muddy clarity
A higher amount of fines can add body and richer mouthfeel while reducing clarity of origin flavors. The tradeoff is that more work happens in small particles while large pieces remain underdone. The goal is managing the amount fines so the cup stays balanced and repeatable.
| Particle Type | Typical Effect | Key Cause | Practical Fix |
|---|---|---|---|
| Fines (0–100 µm) | Harsh, drying; fuller body | High surface area and clogging | Reduce amount fines; adjust burrs or dosing |
| Boulders (oversized) | Sour, thin, hollow finish | Poor penetration by water | Increase uniformity; modify particle spread |
| Mixed | Muddy clarity, stronger mouthfeel | Wide size range in sample | Target steady amount fines for method |
“When particles fight, the cup loses its voice.”
Fines vs boulders: the two ends of the grind size range
Tiny particles at one end and oversized chunks at the other each force water to take very different paths through a bed of grounds.
What fines are and how they affect flow
Fines are the very small end of the particle size range. They extract fast and can migrate into gaps between larger pieces.
Because fines pack tightly, they reduce void space. That raises resistance and can clog filters or an espresso puck, slowing or stalling flow.
What boulders are and how they create weak zones
Boulders sit at the oversized end of the range. They take much longer to release soluble material.
Large particles create pockets where water barely penetrates. These weak zones leave parts of the bed under-extracted and taste thin or sour.

Why grinders change behavior across settings
Changing burr spacing shifts the amount fines produced. A grinder that makes more fines at finer settings may show fewer at coarser settings.
The practical result: a machine can be forgiving at one set of grind sizes but extremely sensitive at another.
- Both extremes can coexist: misaligned or dull burrs often create fines and boulders together.
- Dialing tip: reducing fines by going coarser may reduce bitterness but can raise the count of boulders and cause sourness unless you tweak other variables.
“A stable particle mix keeps water moving evenly; extremes force hard choices at the brewer’s dial.”
Next: how these particle extremes shape water flow in percolation versus immersion methods.
Coffee grind distribution and water flow in different brew methods
Different brewing methods expose particle-size problems in different ways through their flow paths.
Percolation vs immersion
Percolation methods like pour over and drip coffee force water through a bed. That makes permeability and channeling central failure modes. Fines can clog a paper filter, slow drawdown, and force uneven flow.
Immersion methods let grounds steep in liquid. They tolerate flow variation better, but fines still extract fast. That increases sediment and body while masking clarity.
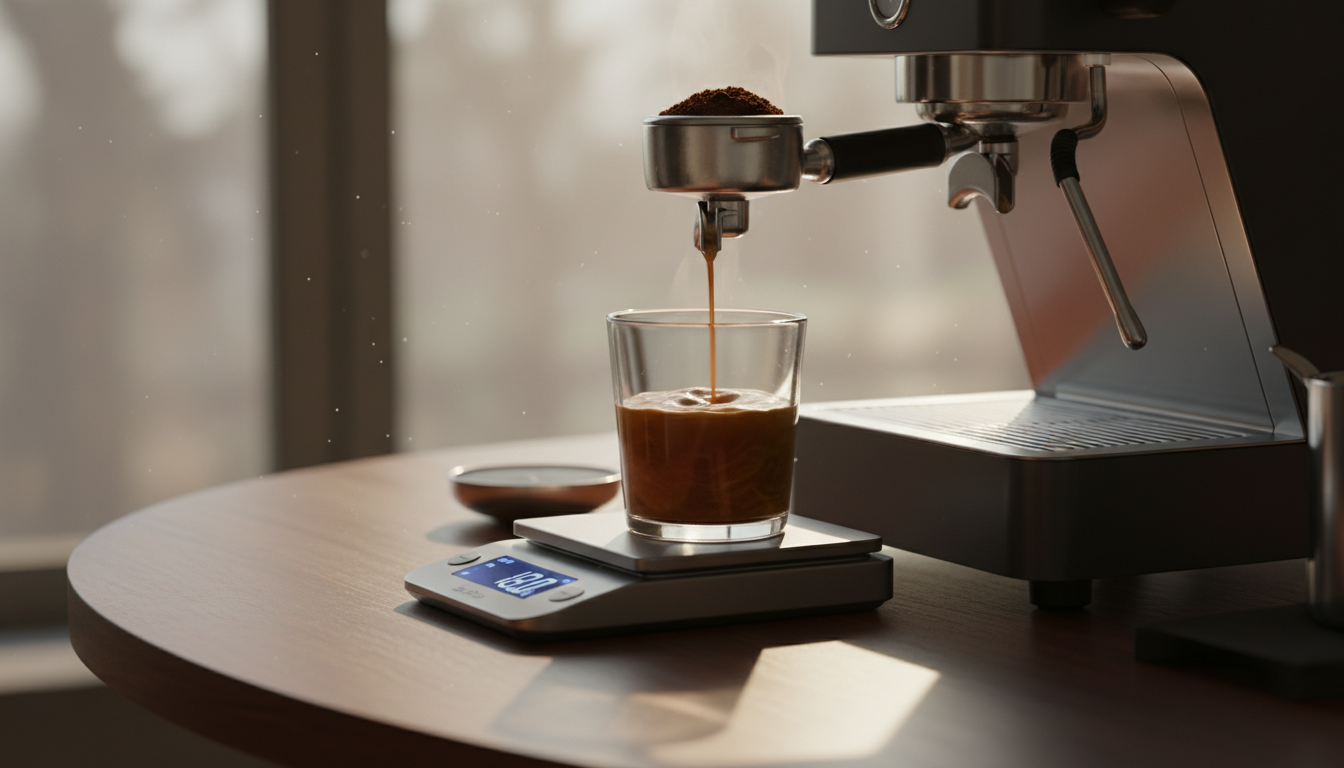
Espresso sensitivity, filters, and bed depth
Espresso lives in a tight micron range. High pressure and a short window mean tiny shifts in grind size change shot time and extraction fast. Call this the “micron window.”
Filter choice shifts targets. Paper traps fines and favors clarity. Metal lets more fines through and increases body. Bed depth also matters: deeper beds amplify clogging and fines migration; shallow beds highlight boulder under-extraction.
| Method | Dominant issue | What to target | Practical tweak |
|---|---|---|---|
| Drip / pour over | Clogging, uneven drawdown | Stable permeability; limit fines | Adjust dosing and sieve fines |
| Immersion (French press) | Sediment, heavy body | Balanced sizes; accept more fines | Shorter steep or coarser sift |
| Espresso | Flow swings, channeling | Tight micron window and uniformity | Fine-tune grind size and tamp |
Actionable way: pick a method-appropriate target range, then stabilize particle mix and technique to hold flow and flavor steady.
Use brew-method grind size ranges as your starting target
Pick a target particle band for each brew method and use it as your reference point. These micron ranges give you a practical place to start instead of guessing terms like “fine” or “coarse.”
Espresso range and sensitivity
Espresso: 180–380 µm. Small moves inside this band change pressure, flow, and taste fast.
Why it matters: high pressure and short contact time make tiny shifts swing extraction and shot balance.
Filter and pour-over baselines
Filter machines commonly fall between 300–900 µm. Variation depends on showerhead design and batch size.
Pour over ranges are about 410–930 µm. The V60 is tighter: roughly 400–700 µm, a useful manual baseline.
French press and cold brew tolerances
French press: ~690–1300 µm. Coarser sizes tolerate wider spreads, but fines still add sediment and harsh notes.
Cold brew: usually 800–1400 µm. Long steep times reduce the need for tight uniformity, yet very fine particles can create bitterness over hours.
| Method | Typical micron band | Why this band |
|---|---|---|
| Espresso | 180–380 µm | Tight window; small changes affect pressure and extraction |
| Filter machine | 300–900 µm | Varies with brewer design and dose |
| V60 / pour over | 400–930 µm (V60: 400–700) | Manual control; target depends on flow rate and filter |
| French press | 690–1300 µm | Coarser, tolerates more spread; fines impact sediment |
| Cold brew | 800–1400+ µm | Very long contact time; large pieces preferred |
Practical tip: aim for most particles inside the target band. Real grinders make a mix—these ranges are starting points, not rigid rules.
“Use micron bands to stop guessing and start dialing with purpose.”
Why grinder settings don’t translate across grinders
Numeric grinder marks are shorthand, not a universal language— what a dial shows depends on many hidden choices inside the machine.
Why “setting 2” isn’t the same everywhere
Different manufacturers pick different zero points and calibration steps. One model’s “2” can equal another’s “8” in actual particle output.
Unit-to-unit variation and alignment effects
Even two of the same model can behave differently. Slight burr misalignment or loose calibration creates more fines and more oversized pieces at the same apparent setting.
Burr shape and why a single number fails
Burr geometry changes cutting action. Flat, stepped, or spiral profiles produce different particle sizes and spreads even with the same median.
Practical takeaway: treat published settings as starting points. Dial by taste, flow, and extraction, not by someone else’s number.
“A dial tells you where to start; your cup tells you where to stop.”
PSD comparisons must use the same beans and meter to be meaningful. Next, we’ll show simple home checks for uneven particle mixes without lab gear.
How to spot uneven grind distribution at home without lab tools
A quick home check can reveal if your grounds are a tidy mix or a chaotic spread of sizes. Use simple looks, touch, and controlled brews to find problems fast. These steps help you decide whether the grinder or the technique needs work.
Visual and tactile tells
Look for excessive powdery fines stuck to the chute or container and scan for visible chunks that stand out from the rest of the grounds.
Rub a small pinch between your fingers. If you feel dusty powder and gritty pebbles together, that usually signals a wide particle spread rather than a tight one.
Brew symptoms to watch
In percolation methods, a stalled drip or unusually long drawdown often points to fines clogging the bed. Sudden fast drawdowns can mean channeling or too many large pieces.
For espresso, very fast shots at a fine setting can indicate channeling, while choking or stalling at similar settings suggests excess fines and overpacked resistance.
Unpredictable brew time that swings every shot or batch is a red flag for inconsistent particle mix or clumping.
A practical, one-change testing method
Keep dose, water, temperature, and pouring routine identical. Change only one variable — a single grind setting or the grinder itself — per test.
- Run at least three controlled brews and record outcomes.
- Note shot or brew time, flow behavior, and taste notes for each run.
- Compare results to confirm if the problem is the process, the burrs, or retention in the machine.
“Documenting short tests turns guesswork into a repeatable way to improve the cup.”
Once you match symptoms to visual and tactile cues, you can target fixes: tweak technique, clear retention in the grinder, or dial settings with intent to reduce fines and visible boulders.
How to improve grind distribution with better grinding technique
Small, repeatable habits produce a steadier particle mix. Bean feed rate and grinder RPM change how beans fracture. That alters the amount of fines and large pieces even with the same burrs.
Consistent dosing and bean feed rate to reduce variability
Weigh your dose each run and avoid topping up mid-grind. Keep bean flow steady to maintain consistent mechanical action.
Tip: run identical doses and a steady hopper feed to limit swings in the particle profile.
Managing retention and clumping so distribution stays consistent in the brewer
Clear retained grounds regularly. Break visible clumps before brewing so they don’t act like pseudo-boulders in the bed.
For espresso, evenly distribute and tamp to lower channel risk and keep extraction uniform.
Dialing in by taste and flow: adjusting finer grind vs coarser grind with intent
Go finer when you need more resistance and extraction. Go coarser when bitterness or harshness signals excess fines-driven over-extraction.
Don’t force a setting; change dose, time, or water temperature instead of pushing finer into clogging.
One-variable-at-a-time process for reliable results
Change only one factor per test: grind size, dose, or time. Record flow and tasting notes. Repeat until cause and effect are clear.
“Stability starts with repeatable inputs and a simple testing routine.”
Next step: once technique is locked, choose grinders and burr styles that support your target particle mix.
Choosing grinders and burr styles with distribution in mind
When choosing a grinder, look past specs and ask how it tends to split mass between fines and the main peak. A single PSD curve tells a story, but only if you know the context behind it.
What PSD comparisons can — and can’t — show
They can reveal tendencies: which machines push more material into fines versus the nominal peak, and how that affects mouthfeel, resistance, and clarity.
They can’t guarantee taste. Factors like clumping, retention, burr alignment, and roast interact with a PSD to shape the cup.
Flat versus conical: a nuanced takeaway
Large datasets (Kaffeemacher/ZHAW tested 24 espresso grinders on the same 82-point Brazilian coffee with a Camsize X2) show averages differ, but overlap is wide.
Flat burrs often trend toward tighter peaks, while conical designs can be less unimodal. Still, burr geometry and alignment usually matter more than the label.
- Practical buy tip: prioritize proven consistency and alignment for your primary brew method.
- Use case: a fines‑heavier profile can suit body‑forward espresso; a cleaner profile favors clarity in filter brews.
“Seek independent measurements and repeatability, not marketing claims.”
Putting it all together for a repeatable “even distribution” workflow
A simple, repeatable routine is the fastest way to keep particle mixes steady and cups predictable. Start with a clear target and control the small actions that repeat every brew. Build workflows around observable outcomes — flow, time, and taste — not dial numbers.
A concise pre-brew checklist
- Consistent dose: weigh beans each run and avoid topping up mid-cycle.
- Consistent grind approach: use the same setting routine and clear retention before grinding.
- Quick visual check: inspect for excess fines or visible clumps and break them up.
- Brewer setup: confirm filter placement, rinse habits, and an even bed or tamp.
Example workflow — espresso
Use the 180–380 µm target as a starting band. Grind, clear clumps, distribute grounds evenly, and tamp with consistent pressure.
Pull the shot and note time and taste. If the shot chokes or tastes harsh, try a touch coarser or shorten contact time. If it tastes thin or sour, tighten the dial slightly or extend time within safe limits.
Example workflow — drip coffee
Pick a 300–900 µm starting range for filter machines or 410–930 µm for pour over. Dose and grind the same way each brew.
Level the bed and keep pouring or machine routine identical. Use drawdown time as a quick permeability proxy: long drawdown often signals excess fines; too-fast drawdown can mean oversized pieces.
Repeatability and a simple troubleshooting loop
Repeatability looks like small day-to-day drift, not big swings in time or flavor. Large shifts usually signal changes in particle mix, retention buildup, or inconsistent prep.
- If bitter/harsh → try slightly coarser or reduce contact time.
- If sour/thin → try slightly finer or increase contact time within the method’s limits.
- If results still vary → clean the grinder, check burr alignment, and re-test with the same routine.
“Even distribution is a workflow outcome, not a single purchase or a single number.”
Core principle: controlling fines and oversized pieces is the foundation of balanced extraction. Use micron bands as practical targets, then tune by visible flow and tasting notes to lock in consistency.
Conclusion
Uneven particle mixes turn a predictable recipe into a lottery of flavors and flow, and the cup pays the price.
Keep this simple framework: know the basics of PSD, spot fines versus boulders, pick a method-specific micron band, then refine by taste and flow. Use consistent dosing and clear retained grounds before each run.
Espresso is the most sensitive to small size shifts. Filter and immersion still benefit from tighter mixes for clarity and repeatable results.
Stop chasing universal settings. Build a personal reference from brew time, flow behavior, and tasting notes. Make one change at a time and record outcomes.
Success looks like: a drip that draws down evenly and tastes clear, and an espresso shot that runs steady without channeling and tastes balanced. Use the symptom checklist and the workflow steps to keep improvements stable.
FAQ
What does particle size distribution mean in real-world brewing?
How is a PSD typically visualized and interpreted for ground coffee?
How do uneven particles change flavor, body, and extraction?
What are “fines” and how do they affect flow and resistance?
What are “boulders” and how do they create weak extraction zones?
Why does a grinder change behavior across settings instead of staying uniform?
How does particle variation affect percolation versus immersion methods?
Why is espresso especially sensitive to a narrow micron window?
How do filter type and bed depth change what “even” needs to look like?
What grind size ranges should I use as starting targets for different brew methods?
Why don’t grinder settings translate across different machines?
How can I spot uneven size distribution at home without lab tools?
What practical techniques improve size distribution and consistency?
When should I change dose, time, or water instead of forcing particle size changes?
How do flat burrs and conical burrs generally differ for PSD?
What can PSD comparisons tell you about a grinder, and what can’t they?
What simple pre-brew checklist helps maintain a repeatable even workflow?
Can you give an example workflow for espresso that prioritizes even extraction?
How should I approach tuning for drip or pour-over to prioritize balanced extraction?
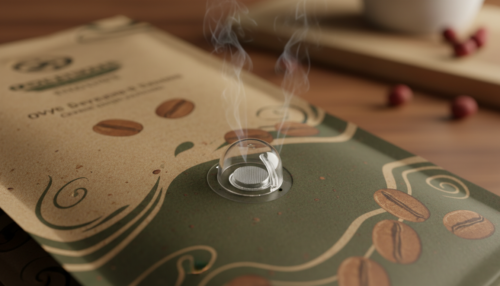
Coffee Packaging Explained: What the One-Way Valve Does
» Discover special tips and stories about coffee