Coffee Blooming Explained: What It Is and Why It Matters
Coffee blooming explained: what it is, why it matters, and how to do it right. Improve your coffee brewing skills with this easy-to-follow guide.
Blooming is the short pre-wet step before the main pour. It lets trapped gas escape from fresh grounds so water can hit the grinds evenly. Expect a quick rise of bubbles and a mild aroma as the gases release.
This simple stage matters for most pour-over routines at home. With fresh beans and a steady setup, the bloom helps avoid uneven extraction. That leads to a cleaner, more balanced cup.
The core reason is physical: trapped CO2 blocks water contact and changes extraction. When gas escapes first, the process of brewing becomes more predictable.
Who benefits most? Manual pour-over users and anyone testing an AeroPress. Some automatic machines with fixed cycles may not need this step. This guide will show what the bloom looks like, how long to wait, how to do it right, and how to tweak the approach for different methods.
Key Takeaways
- The bloom is a quick pre-wet step that releases trapped gas.
- It improves extraction for pour-over and manual brews.
- Look for bubbling and a mild aroma as signs the bloom worked.
- Fresh beans and consistent technique get the best results.
- Not all automatic machines require a manual bloom step.
- The guide provides clear, repeatable steps to try at home.
What Blooming Coffee Is and What You’re Seeing in the Brew
When hot water first meets fresh grounds, an energetic puff of gas and foam often appears. This visible event is a rapid degassing from roasted beans. Roasting locks CO2 inside the cell structure and it slowly escapes over days and weeks.

The CO2 degassing effect from freshly roasted beans
CO2 and other gases push out when hot water wets the bed. The release shows as swelling and foamy rise in the filter or a raft on immersion brewers.
What Would You Like to Learn Next?
Choose an option below:
How hot water triggers bubbles as grounds swell
Grinding breaks cell walls, so fresh ground coffee releases gas faster. You’ll see bubbles and the grounds swell for about 30–60 seconds in pour-over. In a French press the foam can linger until you stir.
Why bloom is most visible with fresh beans
Fresh beans and a recent grind yield more activity. Darker roasts often have more trapped gas, so more visible puffing usually signals more CO2. That dramatic rise matters because gas can reduce water-to-grounds contact if you rush the next pour in your brewing process.
Why Coffee Blooming Matters for Flavor and Extraction
Releasing trapped gas in the first wetting alters how water moves through the grounds. When carbon dioxide vents fast, it can push water away and create pockets that resist wetting. That leads to uneven extraction in pour-over filters.
How escaping CO2 blocks water contact
As CO2 and other gases escape, they form channels and bubbles. Water then skips areas of the bed and cannot extract solubles evenly. The result is a cup with mixed extraction levels.
What tasters notice
Under-extraction often tastes sharper and brighter, with less sweetness or body. Many tasters report that a properly bloomed brew reads fuller and rounder.
“In repeated blind tastings, bloomed pour-over cups were judged richer and more balanced.”
Preferences vary—some like a brighter, more acidic profile. Still, blooming improves consistency and makes the flavor and extraction easier to control in pour-over brewing. That small step can sharpen clarity and repeatability for home brewers.
How to Do coffee blooming the Right Way
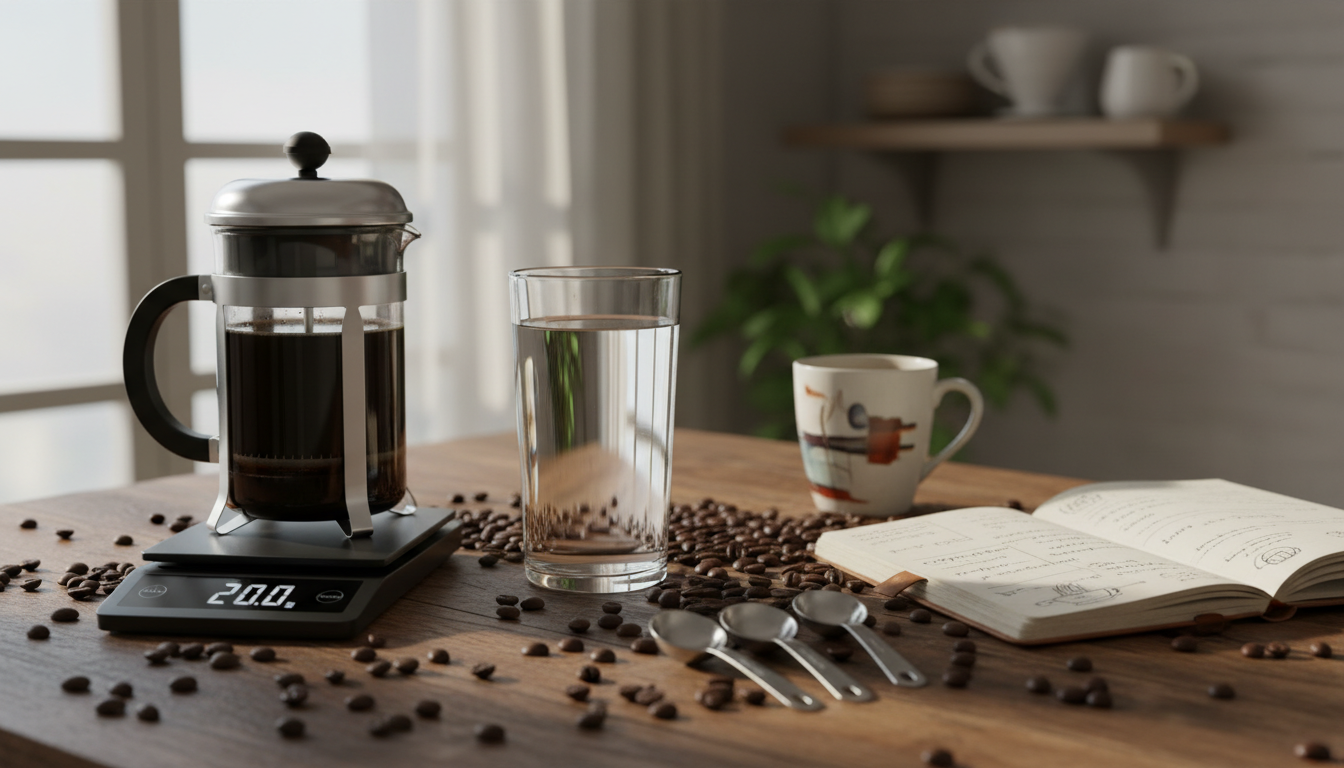
Prepare a repeatable setup: weigh your dose, pick a grind that matches the brewer, and keep timers and scales in use. This makes the pre-wet step measurable and lets you tune other variables.
Wet with the right small amount of water
Use about 2–3 times the dry weight (roughly a 1:3 ratio) as the initial pour. Aim to wet all grounds evenly without flooding the bed.
What fully wet looks like
The bed should appear uniformly dark and saturated with no dry spots at edges or center.
Timing in seconds and visual cues
Start counting when hot water first hits. Wait about 30–45 seconds, or until bubbling and foaming slow and the bed settles.
Water temperature and why it matters
Keep water temperature around 195–205°F. Too hot can push harsher extraction; too cool can taste thin, especially with light roasts.
Pour technique and when to move on
Begin with a controlled center pour, then gently swirl the dripper or give a light stir to ensure even saturation. When degassing calms and the bed is steady, resume the main pour in stages to continue balanced extraction.
Blooming Methods and When to Adjust Your Approach
Baristas choose distinct pre-wet tactics to balance extraction quality with service speed.
Pour-over vs. no-bloom: tradeoffs
The standard pour-over bloom pauses after a small wetting so trapped CO2 can escape. This pause improves evenness and often yields a cleaner cup.
No-bloom methods keep pouring to save time. They risk uneven saturation and a less balanced flavor unless the grind, filter, and pour control are precise.
Practical no-bloom tactic
Some cafes make a small crater in the grounds and pour into the center to wet quickly. This helps speed but can still leave dry pockets if the grind or pour is inconsistent.
Single bloom vs. double bloom
Try a double bloom for very fresh, gassy beans or lots that brew unevenly. Example: for 18 g ground, pour ~50–60 ml, wait 30–45 s, repeat, then finish the main pour.
Be careful—too much pre-wet time or too-large amounts water risks over-extraction and bitterness.
How it changes by brewer
In a French press the bloom can form a foamy raft; a quick stir reincorporates grounds for even steeping.
An AeroPress is flexible—adjust bloom timing to the recipe goal. In espresso, pre-infusion wets the puck briefly before full pressure, serving a similar purpose.
Common mistakes and fixes
- Old beans: low gas means less benefit—use fresher beans for a clear effect.
- Wrong amount water: too little leaves dry pockets; too much floods the bed—measure by weight.
- Mismatched temperature: lower temps can reduce agitation but may make light roasts too bright; keep water temperature suited to roast.
“Adjust one variable at a time—bloom, time, or temperature—to link changes directly to taste.”
Conclusion
A focused pre-wet routine turns an unpredictable brew into a repeatable one. Blooming helps manage trapped gas so water wets the grounds more evenly and improves consistency in the cup.
Keep a simple baseline: use fresh beans, add a measured small amount of water, wait 30–45 seconds, then finish the main pour. Adjust bloom timing and volume by one variable at a time to track changes in taste.
Results depend on roast, grinder, and method. Try single, double, or no-bloom and note differences. Share your approach and what you taste—small technique tweaks accumulate into noticeably better daily brews.
FAQ
What is the bloom and what am I seeing when grounds bubble during the brew?
Why does degassing matter for flavor and extraction?
How much water should I use to bloom and how long should it take?
What water temperature is best during the bloom phase?
Which pour techniques work best during the bloom?
When should I stop blooming and begin the main pour?
When might a double bloom or no-bloom approach be appropriate?
How does blooming differ across brewing devices like pour-over, French press, and AeroPress?
What common mistakes affect the bloom and final cup quality?
How can I tell if my bloom technique is improving my brew?
Why Cheap Coffee Often Tastes Burnt
» Discover special tips and stories about coffee