Mini fridge makeover: Decorate and organize like a pro
Give your mini fridge a fresh look with our mini fridge makeover ideas and organization tips for a clutter-free space
Your kitchen’s compact cooling unit doesn’t have to blend into the background. With simple upgrades, you can turn this everyday appliance into a statement piece that matches your unique personality. Best of all? No renovation expertise or hefty budget required.
Creative customization lets you balance visual appeal with smarter storage. Think peel-and-stick designs for instant surface updates, or magnetic organizers that keep snacks visible and accessible. These changes take minutes but deliver lasting impact.
Revitalizing your current refrigerator also supports eco-conscious living. Unlike replacements that create waste, upgrades extend your device’s lifespan while reducing landfill contributions. It’s a win for your space and the planet.
Key Takeaways
- Personalize your appliance’s appearance using removable decals or paint
- Install space-saving organizers inside for better item visibility
- Choose durable materials that withstand daily kitchen use
- Reduce environmental impact by updating instead of replacing
- Combine color schemes with functional storage solutions
Creative Ways to Refresh Your Fridge’s Look
Your cooling appliance becomes a canvas when you explore surface transformations. Removable adhesives offer endless possibilities for temporary redesigns, while permanent upgrades create lasting visual impact. This approach lets you experiment with trends without commitment.

Decals, Stickers, and Custom Graphics
Houzz user Iko Cornelius turned heads with her Ampeg speaker-themed vinyl decals from Etsy artist Neil Jeffery. “It’s held up perfectly through three years of daily use,” she notes. Online marketplaces let you commission artwork matching your kitchen’s color scheme or personal interests.
Strategic placement creates focal points without clutter. Apply graphics to freezer doors or side panels for balanced design. Pat Dowd’s balloon-themed wrap from Gatorwraps demonstrates how full-coverage installations transform entire appliances.
What Else Would You Like to Know?
Choose below:
Chalkboard and Vinyl Wrap Inspirations
Adhesive chalkboard panels solve multiple problems. They conceal scratches while adding functional writing surfaces. Users report maintaining these covers for five years with occasional touch-ups.
For bold transformations, professional vinyl wrapping services offer wood grain and metallic finishes. As one installer explains: “We match patterns perfectly across seams for high-end results.” These durable solutions protect surfaces from fingerprints and UV damage.
DIY Techniques for a Standout Kitchen Appliance
Transforming your kitchen’s workhorse into a style statement requires smart material choices and precise execution. Focus on surface treatments and hardware swaps that deliver visual impact while maintaining functionality.
Step-by-Step Painting and Finishing Tips
Professional painters emphasize surface prep as the key to lasting results. Clean surfaces with degreaser, then apply Stix primer – specially formulated to bond with slick appliance finishes. Epoxy spray paints work best for textured surfaces, resisting chips from daily use.
One contractor notes: “Projects using quality materials can refresh appliances for under $20.” Allow proper drying between coats, and finish with clear protective sealant. This approach extends your refrigerator’s lifespan by 5+ years in many cases.
Upgrading Handles and Panels
Swap outdated hardware with repurposed bathroom towel bars for modern flair. Measure existing screw spacing before purchasing replacements. Align new handles with cabinet hardware for cohesive design.
For damaged panels, sand rough edges and apply metal filler before painting. Use templates when cutting decorative overlays to ensure proper alignment with door mechanisms.
| Paint Type | Dry Time | Best For | Cost |
|---|---|---|---|
| Epoxy Spray | 2 hours | Textured surfaces | $8/can |
| Acrylic Latex | 4 hours | Smooth panels | $6/can |
| Chalk Finish | 24 hours | Vintage looks | $12/qt |
Mini fridge makeover: Tips to Organize and Personalize
Transform your appliance into a personalized command center that reflects your household’s character. Strategic design choices turn cold surfaces into warm storytelling spaces while keeping essentials within easy reach.
Showcase Photo Albums and Decoupage Ideas
Magnetic frames let you rotate snapshots like a dynamic gallery. Leslie O’Brien transformed her refrigerator using vintage Gourmet magazine covers sealed onto plywood panels. “Guests always ask about these food-themed panels,” she says. “They’ve survived five years of family life without peeling.”
Decoupage works with calendars, maps, or children’s drawings. Apply Mod Podge to thin wood cutouts, then attach them with heavy-duty magnets. This method protects cherished memories from spills and scratches.
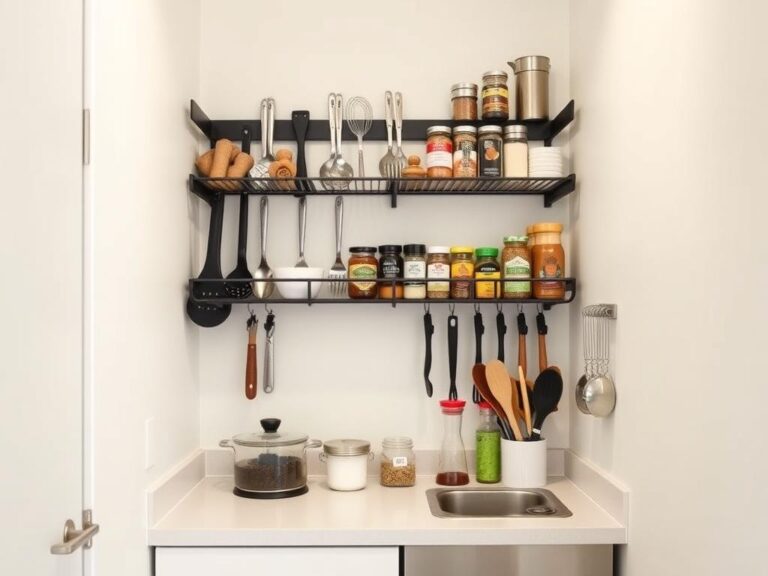
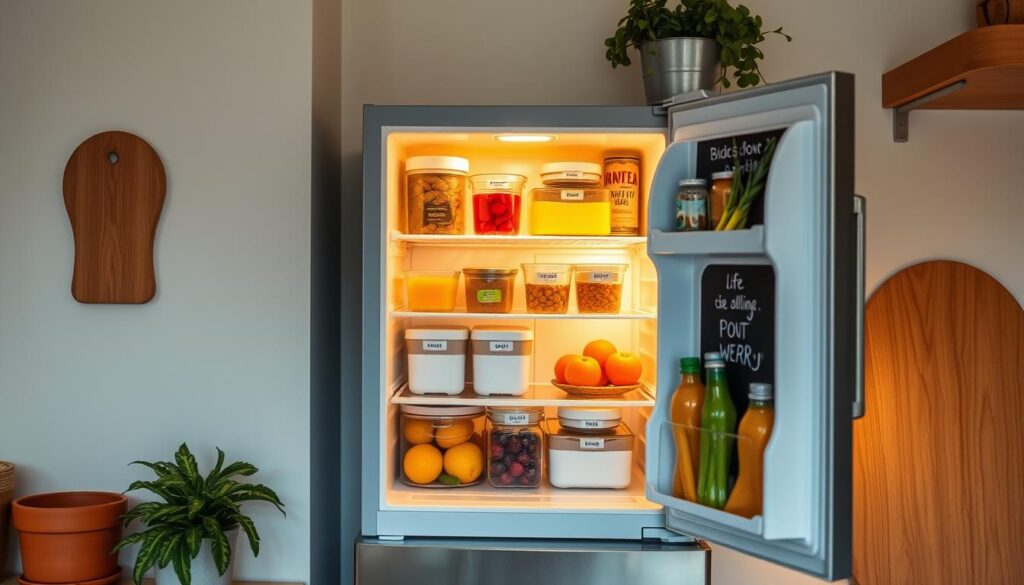
Practical Organization Hacks for a Clutter-Free Space
Assign zones using colored magnetic boards. Designate areas for grocery lists, school schedules, and takeout menus. One parent notes: “Our family uses red magnets for urgent notes – everyone checks them first.”
Sarah Robertson upgraded her appliance with vintage spigot handles. These unique pulls now hold reusable shopping bags. Pair functional organization with style using:
- Magnetic spice jars for cooking essentials
- Chalkboard labels for meal prep containers
- Vertical file holders for coupons
Keep surfaces tidy by limiting displayed items to one curated section. Rotate photos seasonally to maintain visual interest without overcrowding.
Budget-Friendly Ideas for a Fridge Facelift
Revitalizing your kitchen’s essential appliance doesn’t require deep pockets—just smart material choices. Start with adhesive contact paper that transforms surfaces in under two hours. At less than $20 per roll, these DIY solutions offer bold patterns from faux marble to retro diner styles.
Affordable Materials and Recycled Options
Renters love peel-and-stick wallpaper for temporary upgrades. One homeowner reported: “Our floral print survived three years without damaging the finish.” For eco-conscious designs, repurpose old magazines as decoupage material or use leftover cabinet paint for cohesive color schemes.
Chalkboard paint creates multi-functional spaces for under $50. Apply it to freezer doors for grocery lists or recipe notes. Pair with magnetic spice jars to maximize vertical storage without cluttering countertops.
Disguise older models by aligning panels with existing kitchen cabinets. Use salvaged wood or laminate scraps to create built-in illusions. This technique saved one family $1,200 compared to buying new appliances.
- Removable vinyl wraps ($15-25)
- Recycled metal trim from hardware stores
- Magnetic chalkboard panels ($32/set)
- Repurposed cabinet handles
Conclusion
Breathing new life into everyday appliances proves creativity trumps cost. Your refreshed kitchen centerpiece now reflects personal style while serving practical needs. This project demonstrates how simple upgrades can elevate both aesthetics and functionality in any home.
Choosing renovation over replacement benefits your space and the planet. Durable materials and smart techniques ensure your kitchen upgrade lasts for years. The skills you’ve gained translate to other home improvement ideas, building confidence for future endeavors.
Share your success to inspire family and friends. Many households discover that inventive ideas beat expensive replacements. Your transformed appliance becomes a conversation starter that sparks resourceful thinking in others.
Maintain your creation using the methods you’ve mastered. Regular care preserves both appearance and performance. This makeover isn’t just about looks – it’s a lasting investment in your home’s character and sustainability.
FAQ
Can I use regular paint to update my appliance’s exterior?
How do I ensure decals or vinyl wraps stay secure on the surface?
What’s a non-permanent way to personalize my fridge for renters?
Can I replace old handles without drilling new holes?
Are there budget-friendly alternatives to stainless steel finishes?
How can I organize a small fridge efficiently?
What materials work best for decoupage designs?
Tiny Kitchen, Big Ideas: Organizing Your Small Student Kitchen
» See exclusive tips for your home