How to turn your dorm window into a mini herb garden
Learn how to turn your dorm window into a mini herb garden with our step-by-step guide. Discover the best tips and tricks for a thriving indoor garden.
College life often means tight quarters, but that doesn’t mean you can’t enjoy greenery. A compact garden near your brightest room feature—like a window—offers more than decoration. Studies show indoor plants boost air quality, focus, and mental well-being, making them ideal for student living.
Starting your own green oasis is simpler than you think. Basic supplies from stores like Home Depot—including affordable lighting options—keep costs under $30. Even with limited space, herbs like basil, mint, or thyme thrive with minimal effort.
This hobby blends practicality with creativity. Fresh cuttings elevate meals while nurturing herbs teaches responsibility. Plus, tending to greenery provides a calming break from textbooks and screens.
Key Takeaways
- Indoor gardens improve air quality and reduce stress in compact living areas
- Startup costs average $28 for lights, bulbs, and starter kits
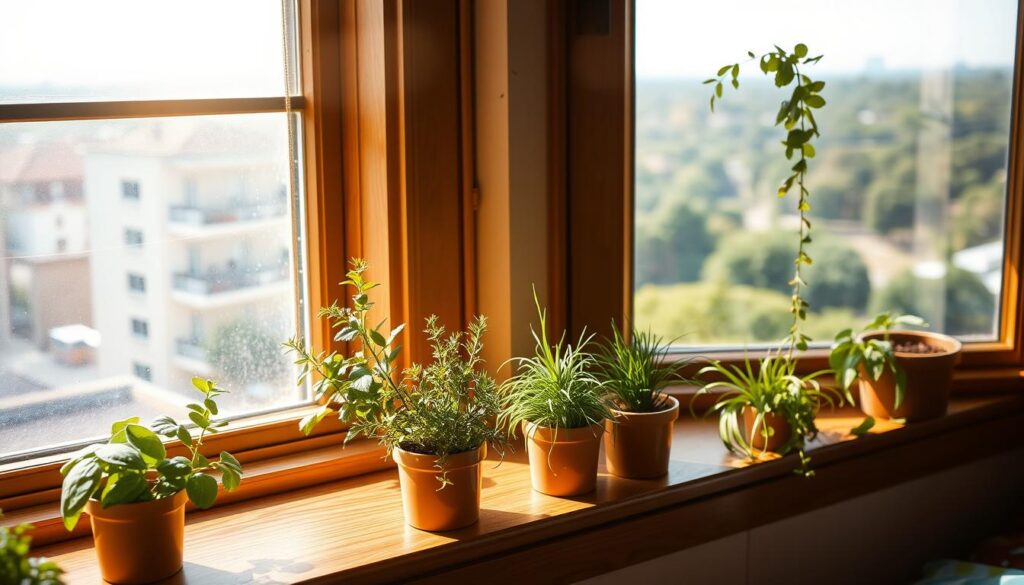
- Windowsill setups maximize natural light without requiring outdoor access
- Growing herbs builds gardening skills in manageable, small-scale projects
- Freshly harvested seasonings enhance meals while connecting you to nature
Gathering Essential Supplies and Setting Up Your Space
Creating a thriving green corner begins with smart material choices. Proper containers and nutrient-rich soil form the foundation of healthy herb growth. Let’s explore the tools that balance functionality with dorm-friendly dimensions.
Choosing the Right Pots and Soil
Pots measuring at least 6 inches wide prevent cramped roots. Always check for drainage holes—these small openings protect against overwatering. Narrow spaces demand efficiency: individual containers work better than shared planters for most herbs.
Organic potting soil beats regular topsoil for food-safe growing. Compressed soil disks expand when watered but require extra prep time. For quick starts, pre-mixed bags save valuable study hours.
What Else Would You Like to Know?
Choose below:
Essential Tools and Materials
A $10 starter kit offers four pots, seeds, and reusable trays. Compare this to buying separate items:
| Feature | Complete Kit | Individual Purchase |
|---|---|---|
| Cost | $10 | $14+ |
| Setup Time | 15 minutes | 45 minutes |
| Space Efficiency | Compact wooden box | Multiple store trips |
Grow lights supplement natural sunshine during cloudy days. Pair them with drip trays to safeguard surfaces from water marks. These simple additions transform any sunny ledge into a productive space.
Maximizing Natural Light and Supplementing with Grow Lights
Successful indoor cultivation begins with understanding light dynamics. Herbs demand precise conditions – six daily hours of direct sun exposure forms their baseline requirement. This makes window orientation analysis essential before planting.
Assessing Your Dorm Window’s Light Exposure
South or southwest-facing windows deliver optimal illumination. Use a compass app to determine directionality. North-facing spaces often require full-spectrum light supplements year-round.

Track sunlight patterns over three days. Mark when direct rays hit the area. Most herbs thrive with morning sun and afternoon indirect light. Adjust plant placement based on these observations.
Setting Up and Adjusting Your Grow Light
Standard fluorescent bulbs lack necessary wavelengths. Replace them with T5 or T8 grow light tubes matching fixture specifications. An 18″ T5 bulb won’t fit a T13 socket – check labels carefully.
- Mount fixtures using removable velcro strips
- Maintain 1-inch clearance above plants
- Raise lights weekly as herbs grow
Position adjustable arms at 45-degree angles for multi-height arrangements. This way, basil and thyme receive equal illumination despite different growth rates. Timers automate light cycles during exam weeks.
Supplemental lighting proves vital in winter months. Combine natural and artificial sources for 14-hour daily exposure. Rotate pots every three days to prevent leaning toward windows.
how to turn your dorm window into a mini herb garden
Balancing academics with fresh ingredients becomes achievable through strategic herb selection. The right variety thrives in compact spaces while complementing student cooking habits.
Selecting the Best Herbs for Busy Students
Basil leads as a top pick for pasta enthusiasts, sprouting edible leaves in just three weeks. Its intense aroma enhances sandwiches and caprese snacks between classes.
Mint’s adaptability makes it ideal for beginners. This vigorous grower thrives in various light conditions, yielding leaves for iced teas and fruit salads. Regular trimming prevents overgrowth in small containers.
Parsley and chives serve versatile roles:
- Flat-leaf types jazz up ramen and omelets
- Curly varieties garnish soups and potato dishes
- Chive stems add onion zest to dips and baked potatoes
Using Dorm-Friendly Kits vs. Individual Components
Pre-packaged sets offer convenience with included soil discs and biodegradable pots. However, custom builds allow tailored combinations:
- Kits: $12-18 for 4-6 herbs
- Separate items: $20+ for premium seed varieties
Oregano and rosemary suit experienced growers willing to monitor sunlight exposure. Their woody stems require less frequent watering – perfect for irregular schedules.
Planting Techniques and Seed Care Fundamentals
Nurturing herbs from seeds demands precision with simple tools. The difference between thriving plants and failed sprouts often lies in proper seed placement and moisture control. Master these fundamentals to transform tiny specks into fragrant greenery.
Step-by-Step Guide to Planting Your Seeds
Fill containers with potting soil, leaving ½ inch space at the bottom. Create uniform holes using a Sharpie cap – depth matters more than width. Check seed packets: basil needs ¼” holes, parsley ⅛”.
| Herb | Seed Depth | Germination Time |
|---|---|---|
| Basil | 1/4 inch | 5-10 days |
| Parsley | 1/8 inch | 14-28 days |
| Chives | 1/4 inch | 7-14 days |
Drop 3-4 seeds per hole. Cover gently without compacting soil. This technique accounts for natural germination rates – you’ll thin weaker sprouts later.
Ensuring Proper Watering, Drainage, and Seed Depth
Water using a spray bottle initially. Make sure the entire root zone gets moist without washing away seeds. After soaking, let pots drain in sinks for 10 minutes.
Spring planting aligns with natural cycles, but indoor setups work year-round. Use room-temperature water to avoid shocking delicate seeds. Check drainage holes daily – clogged openings drown roots.
Proper technique prevents two common issues:
- Shallow planting → Exposed, dried-out seeds
- Deep burial → Stalled germination
Maintaining Your Indoor Herb Garden in a Dorm Setting
Consistent care transforms seedlings into robust plants ready for culinary use. Strategic adjustments keep greenery thriving despite limited space and academic demands. Daily attention prevents common issues while maximizing harvest yields.
Light Management and Growth Tracking
Raise light fixtures weekly to maintain a 1-inch gap above the tallest leaves. This prevents heat damage while ensuring even coverage. Tilt adjustable lamps at 30-degree angles for mixed-height arrangements.
Check soil moisture each morning before class. Water only when the top inch feels dry – overwatering causes root rot in small containers. Rotate pots every 72 hours to promote symmetrical growth.
Sustainable Harvesting Practices
Trim herbs regularly to encourage bushier growth. Remove flower buds immediately to redirect energy into leaves. Follow species-specific techniques for best results:
| Herb | Pruning Method | Ideal Harvest Height |
|---|---|---|
| Basil | Pinch top stems | 6 inches |
| Parsley | Cut outer stems | 3 inches |
| Oregano | Trim 1/3 of stems | 4 inches |
Schedule maintenance during study breaks – five-minute sessions preserve plant health without disrupting coursework. Fresh cuttings stored in water stay vibrant for 3-4 days near sunny room windows.
Conclusion
Cultivating a personal green space offers more than fresh flavors—it fosters creativity and calm in compact living areas. Your thriving garden becomes a dual-purpose resource: basil elevates late-night pasta, while mint transforms water bottles into refreshing treats.
The rhythm of tending plants provides natural stress relief between study sessions. This project builds confidence in nurturing life, with leafy rewards that outlast textbook chapters. Year-round growth stays achievable through adjustable lighting and seasonal rotations.
Share surplus cuttings to spark conversations in dining halls or online communities. What begins as a practical hobby often grows into a lasting connection with nature’s cycles. Every trimmed stem reinforces sustainable habits that transition seamlessly to future home spaces.
Compact herb cultivation proves even cramped quarters can yield vibrant results. Your windowsill experiment today might inspire tomorrow’s balcony garden or kitchen herb wall. Fresh possibilities await in every seed planted.
FAQ
What pot size works best for small dorm windowsills?
Can herbs thrive with only natural light in a dorm room?
Which herbs are easiest for beginners in limited spaces?
Are pre-made herb kits better than DIY setups for dorms?
How often should I water herbs in small containers?
Do I need special soil for indoor herb plants?
How do I prevent leggy growth in low-light dorm rooms?
The Best Colors to Make Your Student Apartment Feel Bigger
» See exclusive tips for your home