DIY charging station to organize all your dorm gadgets
Learn how to build a DIY charging station with our easy-to-follow guide. Perfect for dorm rooms, this project keeps your devices charged and organized.
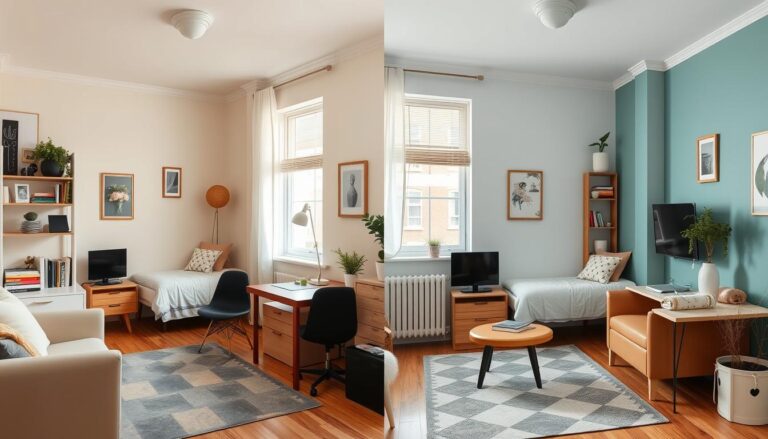
Cluttered cords and dead devices don’t have to define your dorm life. A simple organizational solution can keep phones, tablets, and laptops powered up without the chaos. With limited space and multiple electronics competing for outlets, creating a dedicated spot for your gear ensures everything stays ready to use.
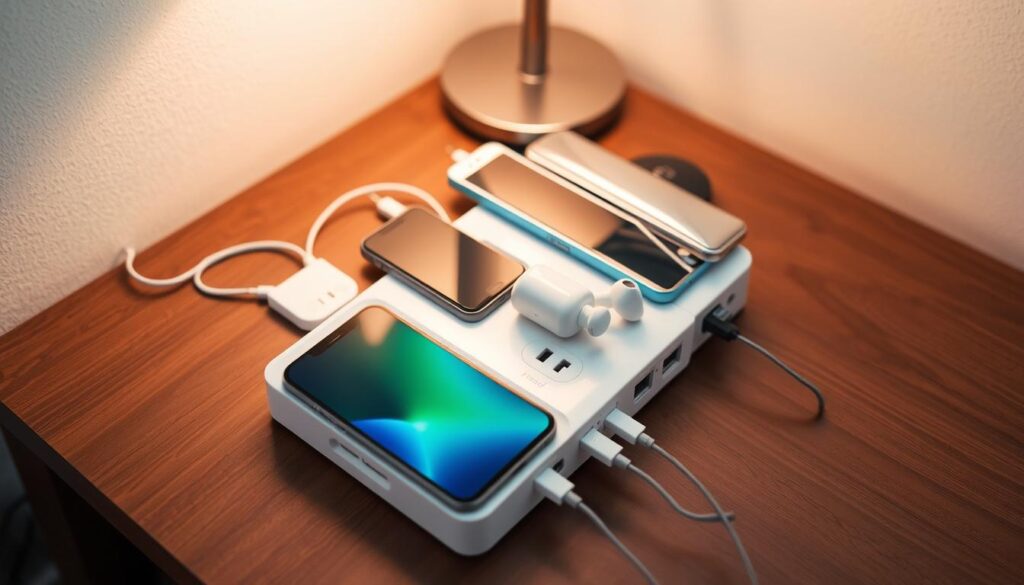
This practical project transforms basic materials into a functional hub. For example, an open desktop organizer from stores like HomeGoods can hold four phones and a tablet at once. Cords stay neatly tucked in place, so you’ll never waste time untangling wires or hunting for adapters.
Customization is key. Whether you need slots for gaming controllers or smartwatches, the design adapts to your tech collection. Best of all, building your own version costs far less than store-bought alternatives – perfect for students balancing budgets.
Key Takeaways
- Centralizes device powering to reduce clutter in small spaces
- Prevents cord tangles and misplaced adapters
- Budget-friendly compared to pre-made options
- Adjustable layout fits phones, laptops, and accessories
- Simplifies daily routines with consistent organization
- Uses easily available tools and materials
Understanding the Project and Gathering Inspiration
College students juggle phones, laptops, and accessories daily, but dorm layouts rarely support tech needs. Shared rooms with scarce outlets and cramped desks demand clever solutions. By reimagining organizational methods from other spaces, you can create a system that keeps devices secure and ready.
Why Centralized Power Hubs Work in Tight Spaces
Rooms with multiple occupants often have just two outlets for everyone’s gear. This leads to arguments over plug access and tangled wires under desks. A dedicated spot for electronics solves these issues while protecting valuables from theft in common areas.
Learning From Workshop and Home Systems
Professional shops use wall-mounted racks to store tool batteries and chargers. These setups prioritize airflow to prevent overheating – a critical feature for dorm safety. At home, families often use drawer organizers or vertical stands to manage tablets and smartwatches without clutter.
What Else Would You Like to Know?
Choose below:
Both approaches emphasize keeping cords visible but controlled. For student spaces, consider adhesive hooks or non-damaging mounts that comply with housing rules. This ensures quick access during study sessions while maximizing limited square footage.
Materials and Preparation for Your DIY Charging Station
Organizing tech gear in tight spaces starts with smart material choices. A sturdy wood organizer forms the backbone of your setup. Look for units around 12” wide – large enough for phones and tablets but compact for dorm desks.

Selecting the Perfect Wood Organizer and Tools
Choose untreated wood organizers from stores like HomeGoods to avoid finish damage from cords. Measure your largest device – most need 1.5” slot depths. Pair this with a drill featuring two key bits: a 1/8” pilot and 3/8” final size for charger ports.
Opt for 6” charging cords to minimize slack. Longer cables work for bedside access but tangle easily. Dedicate specific cords to your organizer to avoid daily swaps.
Planning Cord Layout, Drilling Points, and Safety Measures
Mark hole locations using device placements as guides. Start with pilot holes to verify spacing. Enlarge them gradually – USB-C ends need 0.4” openings, while Lightning connectors require 0.35”.
Attach felt pads to the organizer’s base using strong adhesive. These create 0.25” clearance for hidden cord routing while protecting furniture. For outlet conversions, always shut off power at the breaker first. Test wires with a voltage pen before handling.
Standard electrical boxes must be 3” deep for USB chargers. If unsure about wire colors or box sizes, consult campus maintenance teams. Safety trumps speed when working with power sources.
DIY Charging Station: Step-by-Step Setup and Installation
Transforming your dorm desk into an efficient tech hub requires precise execution. Follow these methods to ensure your setup functions smoothly while maintaining safety standards.
Marking and Drilling Holes for Cords and Outlets
Start by positioning devices on the organizer to map cord paths. Use a pencil to mark where each wire will route through the wood. Always drill pilot holes first – these small starter openings prevent wood splitting.
Switch to a 3/8” bit once placements are confirmed. Test-fit charger ends in the enlarged holes. USB-C connectors need slightly wider openings than Lightning cables – measure twice to avoid errors.
Mounting Your Organizer and Converting an Outlet
Attach felt pads to the organizer’s base using weather-resistant adhesive. This creates space for hidden wire management beneath the unit. For wall-mounted versions, locate studs with an electronic finder before securing brackets.
When upgrading outlets, shut off power at the breaker box first. Match colored wires from the USB charger to existing electrical lines. Tighten connections with twist-on connectors, then wrap joints in UL-listed electrical tape for added safety.
Customizing with Felt Pads, Labels, and Wire Management
Apply color-coded labels near each slot to identify phones or tablets. Use Velcro strips to bundle excess cord length behind the organizer. One student notes:
“Grouping wires by device type cut my morning routine by 10 minutes.”
Test all connections before regular use. Plug in one device at a time to confirm proper power flow. Adjust felt pad thickness if cords appear pinched or strained.
Conclusion
This custom project solves multiple tech headaches in cramped spaces. By centralizing devices and controlling cord chaos, you gain consistent power access without desk clutter. The system adapts as your gadget collection grows – a smart investment for busy student life.
Beyond dorms, the core principles work in apartments or shared homes. Consider bamboo trays for natural aesthetics or hidden in-drawer outlets for minimalist setups. Bedside lamps with USB ports offer nighttime convenience without extra wires.
Completing this organizer often sparks other home improvement ideas. Explore desk drawer dividers or wall-mounted racks to maximize small areas. Many find that tackling one organizational challenge builds confidence for larger projects.
Share your unique adaptations using #SpaceSmartSolutions. Your creative twists could inspire peers facing similar space constraints. For more clever room upgrades, check our guides on under-bed storage and kitchen counter layouts.
FAQ
How long does it take to build a custom organizer for electronics?
What tools are essential for creating a cord-friendly setup?
Can this project work with limited wall space?
How do I prevent overloading outlets with multiple devices?
Are there alternatives to drilling into walls for renters?
What’s the best way to label cords for easy identification?
The Best Colors to Make Your Student Apartment Feel Bigger
» See exclusive tips for your home