How to make your own under-bed storage bins for $10 or less
Learn how to create your own DIY under-bed storage bins for organizing your bedroom space on a budget. Easy step-by-step guide.
Your bedroom might hold a secret treasure trove of unused real estate. The area beneath your bed often becomes a no-man’s-land for forgotten items or temporary shelters for pets. But what if you could turn this overlooked zone into a practical asset?
Many households struggle with clutter, especially in compact living areas. Purchasing pre-made organizers can strain budgets, with some options costing $50 or more. This project offers a smarter approach—repurposing materials like old dresser drawers to craft custom solutions that glide smoothly on casters.
You don’t need advanced skills or pricey tools. Basic supplies like sandpaper, paint, and wheels transform discarded items into functional helpers. The result? A sleek unit that tucks neatly under your frame, keeping seasonal clothes, shoes, or linens within reach yet out of sight.
Key Takeaways
- Leverage often-ignored vertical space beneath beds for smart organization
- Spend less than $20 using repurposed materials instead of costly retail products
- Solve bedroom clutter without complex renovations or permanent changes
- Create mobile units that simplify access to stored items
- Customize sizes and finishes to match your room’s decor
This guide will walk through each step, from selecting materials to adding rolling hardware. You’ll discover how small efforts yield big improvements in daily life—without breaking the bank.
Gathering Materials and Tools
The right supplies turn overlooked areas into functional zones. Whether repurposing existing items or building from scratch, selecting durable components ensures your solution withstands daily use. Start by evaluating what you already own—old furniture pieces often hold hidden potential.

Essential Materials and Budget-Friendly Supplies
Reclaimed dresser drawers work best for this project. Check joints and corners for stability—avoid pieces with cracks or warped wood. For custom builds, use 1/2″ plywood and 1×6 lumber boards. Swivel casters are critical: choose metal wheels that support at least 25 lbs each.
What Else Would You Like to Know?
Choose below:
| Material Type | Cost Range | Where to Find |
|---|---|---|
| Used drawers | $0-$5 | Thrift stores, garage sales |
| Plywood & lumber | $8-$15 | Hardware stores |
| Caster sets | $6-$12 | Online retailers |
Tools Needed for a Successful Project
Gather these basics:
- Power drill with 1/8″ and 1/4″ bits
- Measuring tape and carpenter’s square
- 2 1/2″ wood screws for securing casters
Add shelf liner or fabric scraps to protect delicate items. Total costs stay under $20 if you source materials wisely—check local buy-nothing groups for free supplies.
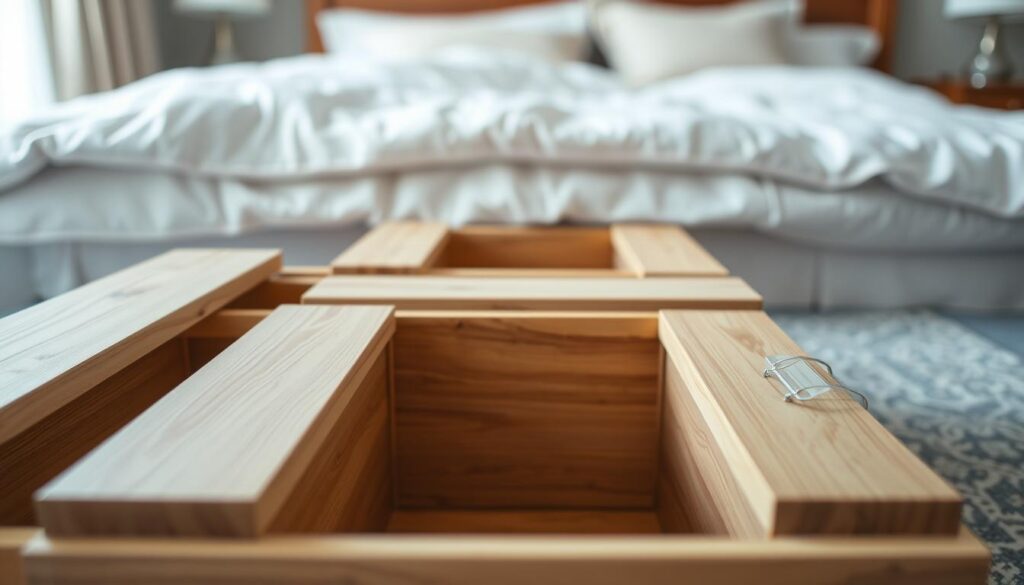
Step-by-Step Assembly Process
Transforming ordinary drawers into mobile helpers requires precision and smart planning. This phase turns raw materials into functional organizers through measured actions and careful hardware installation.
Preparing the Drawer and Planning Wheel Placement
Flip the piece upside down on a flat surface. Identify four flat zones on the bottom—corners work best for weight distribution. Avoid beveled edges where wheels might tilt.
Drilling, Measuring, and Securing Swivel Casters
Mark pilot holes using a carpenter’s square for alignment. Choose a drill bit 1/16″ wider than your screws to prevent wood splitting. Attach casters with 2″ screws, switching to 3″ versions if the bottom exceeds 1″ thickness.
Final Adjustments and Test Fitting Under Your Bed
Check wheel rotation direction matches before tightening fully. Slide the unit under your bedframe, leaving 1/2″ clearance on all sides. Test pull-out smoothness and adjust screw depth if wheels catch.
For custom builds: Cut plywood 3″ shorter than your bed’s interior space. Assemble sides with glue and nails first, then reinforce joints with screws. Sand rough edges until surfaces glide easily across flooring.
DIY Under-Bed Storage Bins: Tips and Tricks
Creative sourcing turns discarded objects into organizational gems. With thoughtful modifications, everyday items gain new life as space-saving helpers. This approach reduces waste while solving practical challenges in any room.
Finding Hidden Treasures in Unexpected Places
Check local thrift shops for solid-wood dressers missing their frames. These often sell for $10 or less. Inspect dovetail joints and drawer slides—tight connections indicate durability. For metal-framed options, test glide mechanisms before purchasing.
Can’t find suitable pieces? Plastic totes with flat bottoms work as lightweight alternatives. Line them with fabric remnants to protect delicate holiday decorations or keepsakes. Adjust dimensions by trimming containers with a utility knife for perfect bed clearance.
Tailoring Designs to Your Lifestyle Needs
Measure twice before cutting materials. Leave 1.5″ gaps around support beams for smooth operation. Use adhesive hooks inside units to hang scarves or belts vertically. Label compartments with chalkboard paint for quick identification of workout gear or craft supplies.
Rotate seasonal wardrobes effortlessly by adding dividers between winter coats and summer linens. Apply furniture wax to wooden surfaces every six months to prevent drying. Silicone spray on casters maintains quiet movement across hardwood or carpet.
Creative Ideas for Customizing Your Storage Bins
Personal touches transform basic containers into stylish room features. With simple upgrades, functional pieces become extensions of your decor while safeguarding belongings. Start by selecting finishes that complement your existing furniture.
Decorative Finishing Touches and Protective Liners
Line interiors with materials that prevent scratches and shifting. Cut fabric remnants 2″ larger than your box dimensions. Tuck edges under for a clean look—quilted cotton works well for delicate clothes or seasonal linens.
| Liner Type | Best For | Cost |
|---|---|---|
| Non-slip shelf paper | Shoes, tools | $0.50/sq ft |
| Felt padding | Jewelry, heirlooms | $3/yard |
| Waterproof vinyl | Bath towels, crafts | $1.25/sq ft |
Upgrade plain fronts with salvaged cabinet handles or leather straps. Paint metal pulls matte black for modern contrast against stained wood. Distress edges with sandpaper for rustic charm.
Apply wood stain in thin layers, wiping excess between coats. Mix espresso and weathered oak tones for depth. Seal with polyurethane to protect against scuffs. Label compartments using chalk markers or removable vinyl stickers.
Rotate contents seasonally by adding removable dividers. Cut cardboard inserts to separate winter sweaters from summer swimwear. Use adhesive hooks inside for hanging scarves or belts vertically.
Conclusion
Hidden spaces become heroes when transformed through clever design. This project turns unused areas beneath sleeping areas into accessible storage solutions that glide smoothly on wheels. By repurposing dresser drawers or building custom units, you gain practical organization without sacrificing floor space.
Rolling containers make retrieving items effortless—no heavy lifting or awkward reaching. Seasonal wardrobes, hobby supplies, or pet toys stay protected yet within arm’s reach. The customizable solution adapts to any room layout, fitting snugly beneath frames while leaving clearance for airflow.
Best of all? You’ll spend less than a movie ticket to create lasting value. Salvaged materials and basic tools prove home improvements don’t require big budgets. Each completed unit serves as a reminder: small changes yield significant lifestyle upgrades.
Ready to rethink your space? Measure your bed’s clearance, gather spare wood screws, and start building. This project opens doors to smarter organization—one smooth-rolling drawer at a time.
FAQ
Can I use dresser drawers instead of building new bins?
What if swivel casters exceed my budget?
How do I ensure the bins slide smoothly?
Can I add handles without drilling extra holes?
Are protective liners necessary?
What’s the easiest way to measure bed clearance?
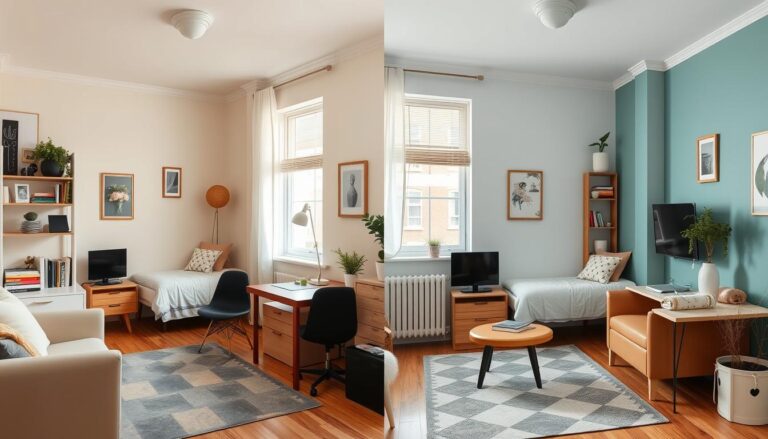
The Best Colors to Make Your Student Apartment Feel Bigger
» See exclusive tips for your home